Our Long-Term Storage Organization
With so many of us stuck at home right now, I couldn’t think of a better time to pour extra energy into all of those problem areas that could use fresh organization. I know that’s what I’ve been doing anyway! I’m not overdoing things, but I’m choosing to tackle one spot in our house each day, working to overhaul our current organization systems, and doing major purging, too.
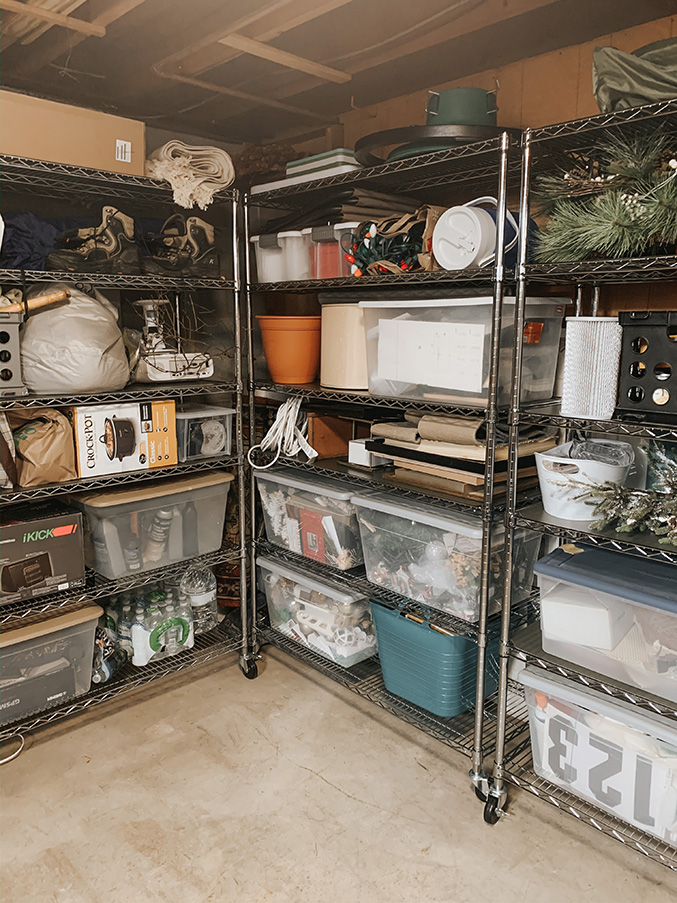
Right before all of us were forced to hunker down at home, John and I actually crossed a big one off our list: the long-term storage in the unfinished side of our basement. The photos in today’s post are anything but pretty, and are certainly not “styled,” but I figured now was the perfect time to share them just in case you’ve got a similar situation in your home that you’d love to tackle while working from home. Keep scrolling to see how we maximized storage in the basement, plus you’ll get all of my best spring cleaning organization ideas, too.
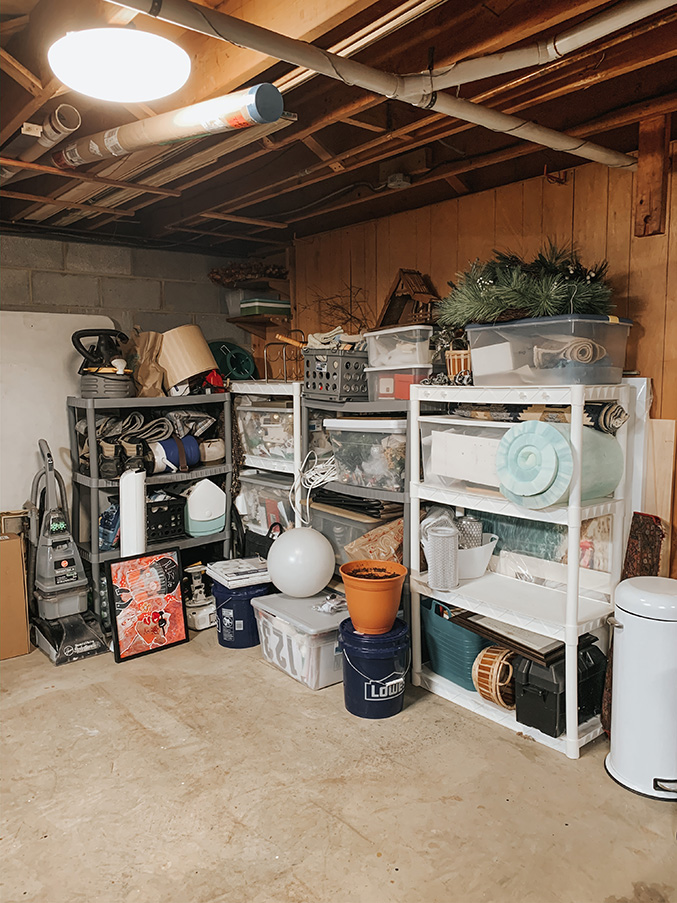
Before things can get better, I have to be humble and share the beginning. That photo above shows how we were storing all of our long-term supplies using inexpensive plastic shelves. Even though we had purged and trashed about three truck loads of things last summer, we were still clearly bogged down with a lot of stuff.
Everything you see here is used in our house (think: Christmas decorations, air purifier filters, rug pads, extra art, picnic supplies), but only occasionally. We wanted to keep everything, but our current load was clearly too much for the plastic shelves—both size- and weight-wise. The shelves were literally overflowing and buckling under the weight of our collection. You might also have noticed that we had a fairly decent amount of wasted vertical space, too. We needed a change, and fast before everything came toppling down to the concrete floor below!
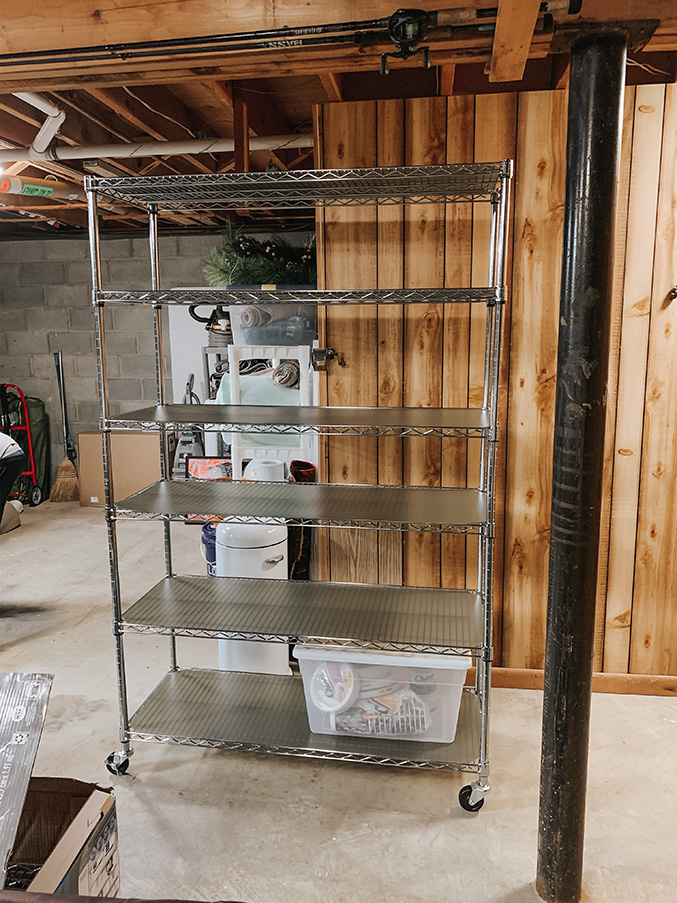
It was around this time that I was talking to the owner of the community pottery studio where I work. He mentioned that he was planning on getting a few more commercial rolling shelves for members of the studio to use, and for overflow pottery as it went into and came out of the kilns. I asked how much weight the shelves could hold, and then grabbed a tape measure to check the height thinking they might be perfect for our basement.
The dimensions were right, and the weight capacity was way better than the plastic shelves we had been making do with up until this point, so I asked if I could go in on the pottery studio’s order to get three shelves for ourselves.
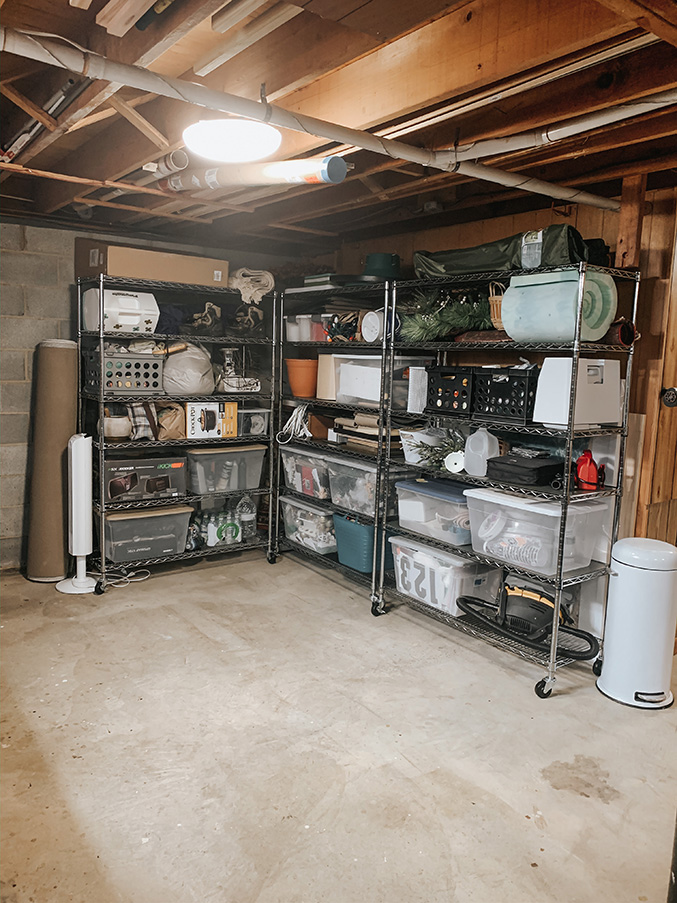
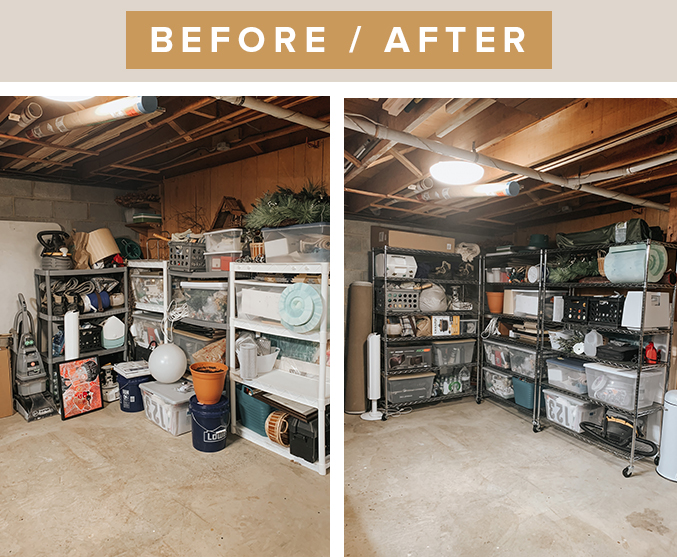
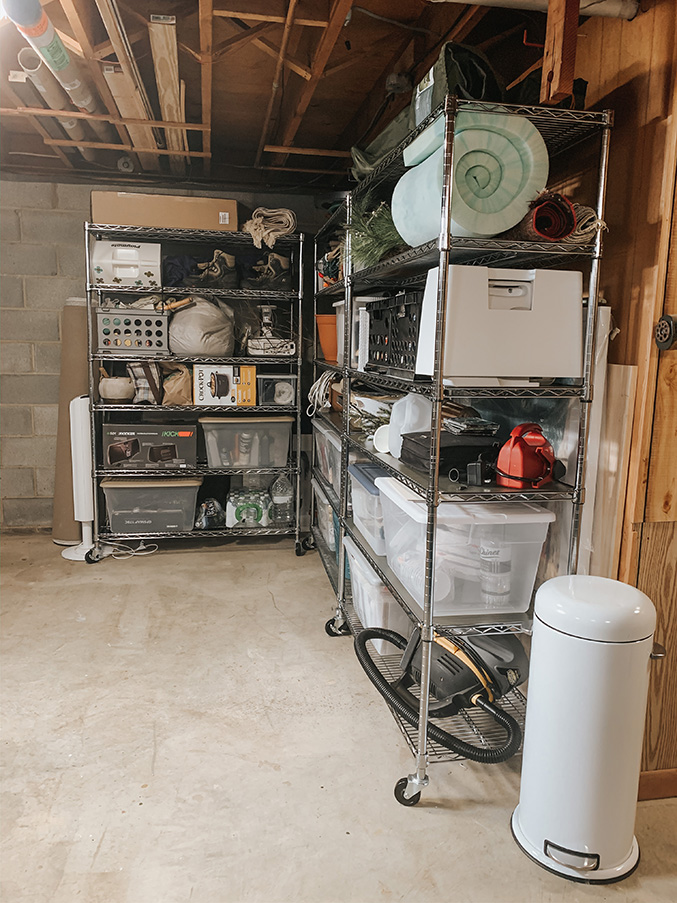
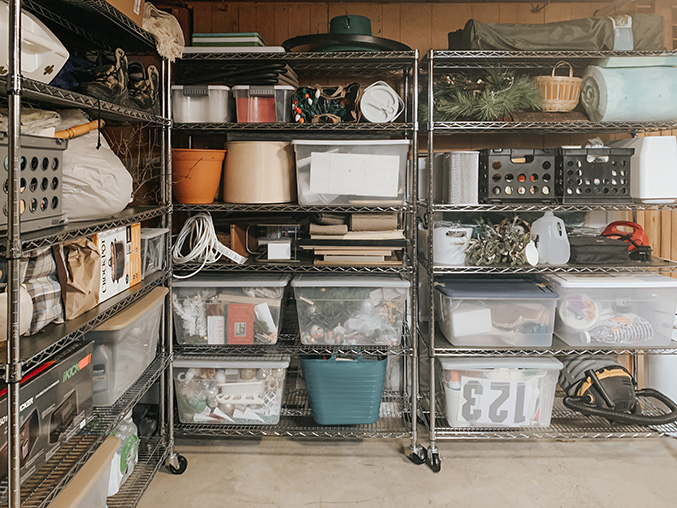
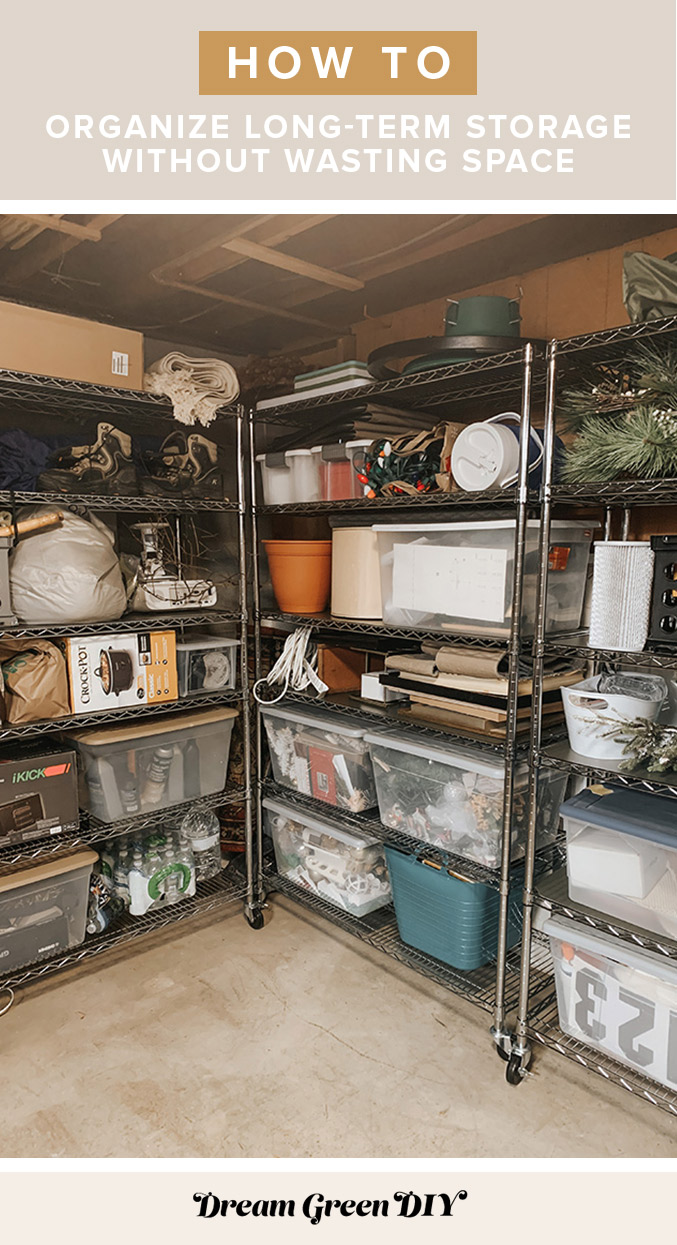
The three new metal shelves we ended up getting are each taller and wider than our four old plastic shelves, so we were able to downsize the amount of units we needed. You can see in that before/after photo above that we managed to fill them all the way up to the ceiling, too, so no more wasted space!
Now we have plenty of room to get everything up off the floor, and the best (unexpected!) news of all is the set of wheels that came with each shelf. With those in place, we were able to stack all of our currently unused art prints behind the shelves because they’re easily accessible just by rolling the shelves out of the way.
We still clearly have a lot of stuff, and I’m planning on downsizing it as often as I can (for example, if I notice we haven’t touched a certain item in more than a year), but the new system feels worlds and away better than where we started.
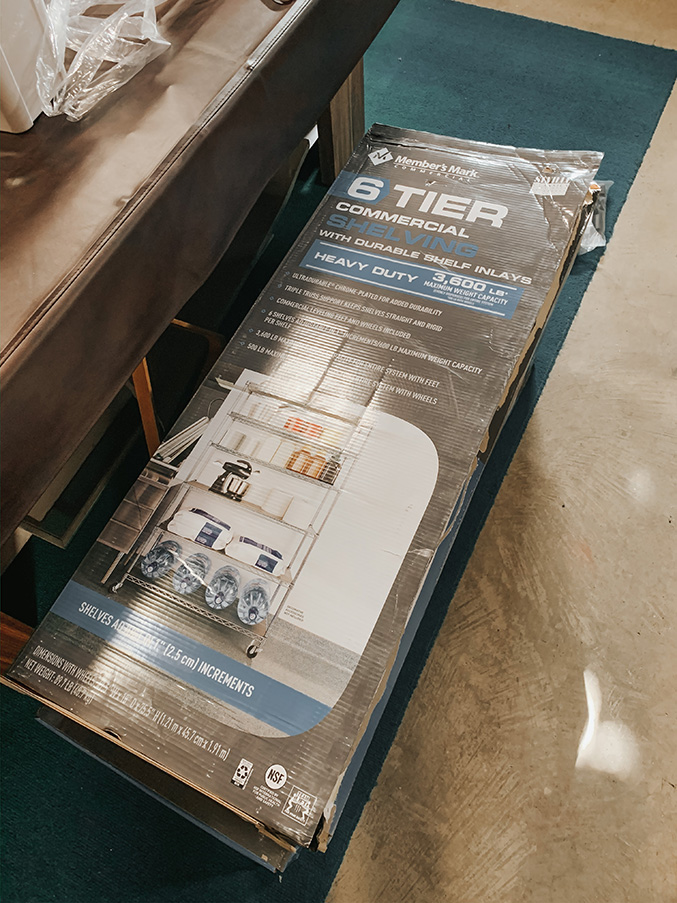
So, I know your next question is probably going to be, “Where are the shelves from?” Unfortunately, these came from Sam’s club, so I’m not sure that they’re the type of thing you can order online. That said, they’re pretty standard commercial shelves, so I bet you can find similar options at your local restaurant supply store or maybe even on Amazon. I included a photo of the box toward the beginning of this post in case you want to search it out.
In terms of other spring cleaning tips, I could go on and on about this subject, but I’ll try to keep it brief since there are plenty of exhaustive lists out there, and you’re probably about to be inundated with info in the coming weeks. Basically, I start by making a list of the closets, drawers, and cabinets I most want to tackle, then I take things one day and one area at a time. That makes it more manageable than trying to knock it all out in one Saturday.
One area I like to stay on top of more often than just springtime is the junk drawer in our kitchen. I actually need to give it a quick overhaul sometime this week, but we did one thing to it last year that was a bit of a game-changer. Instead of trying to keep everything in the drawer tidy on its own, we grabbed all of the Tupperware containers that have inevitably lost their tops (please tell me we’re not the only household whose Tupperware tops inexplicably disappear!), and now use those to divide items in our junk drawer.
You can see what I mean in this old blog post, but the bottom line is that the new method has forced us to keep our junk drawer relatively tidy all year long. There are actually lots of organization tips and strategies in that old post that could be helpful to read before you work on getting your house whipped into shape these next few weeks.
Good luck with all of your spring cleaning projects this season! I’ve crossed tons of projects (big and small) off my list already in the four days I’ve been stuck at home, and it feels great to get them done. I was born for social distancing (smile, wink, wink). Stay well, friends!
The post Our Long-Term Storage Organization appeared first on Dream Green DIY.
