How to Create Visual Boundaries
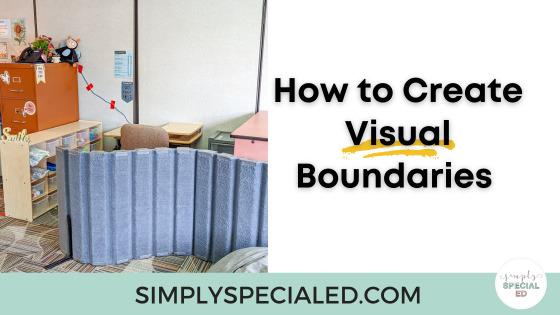
Visual boundaries are a vital part of classroom setup, especially in special education classrooms! I am so excited to show you how I set up and utilize these visual boundaries in my self-contained autism classroom! Let’s go!

Safety First!
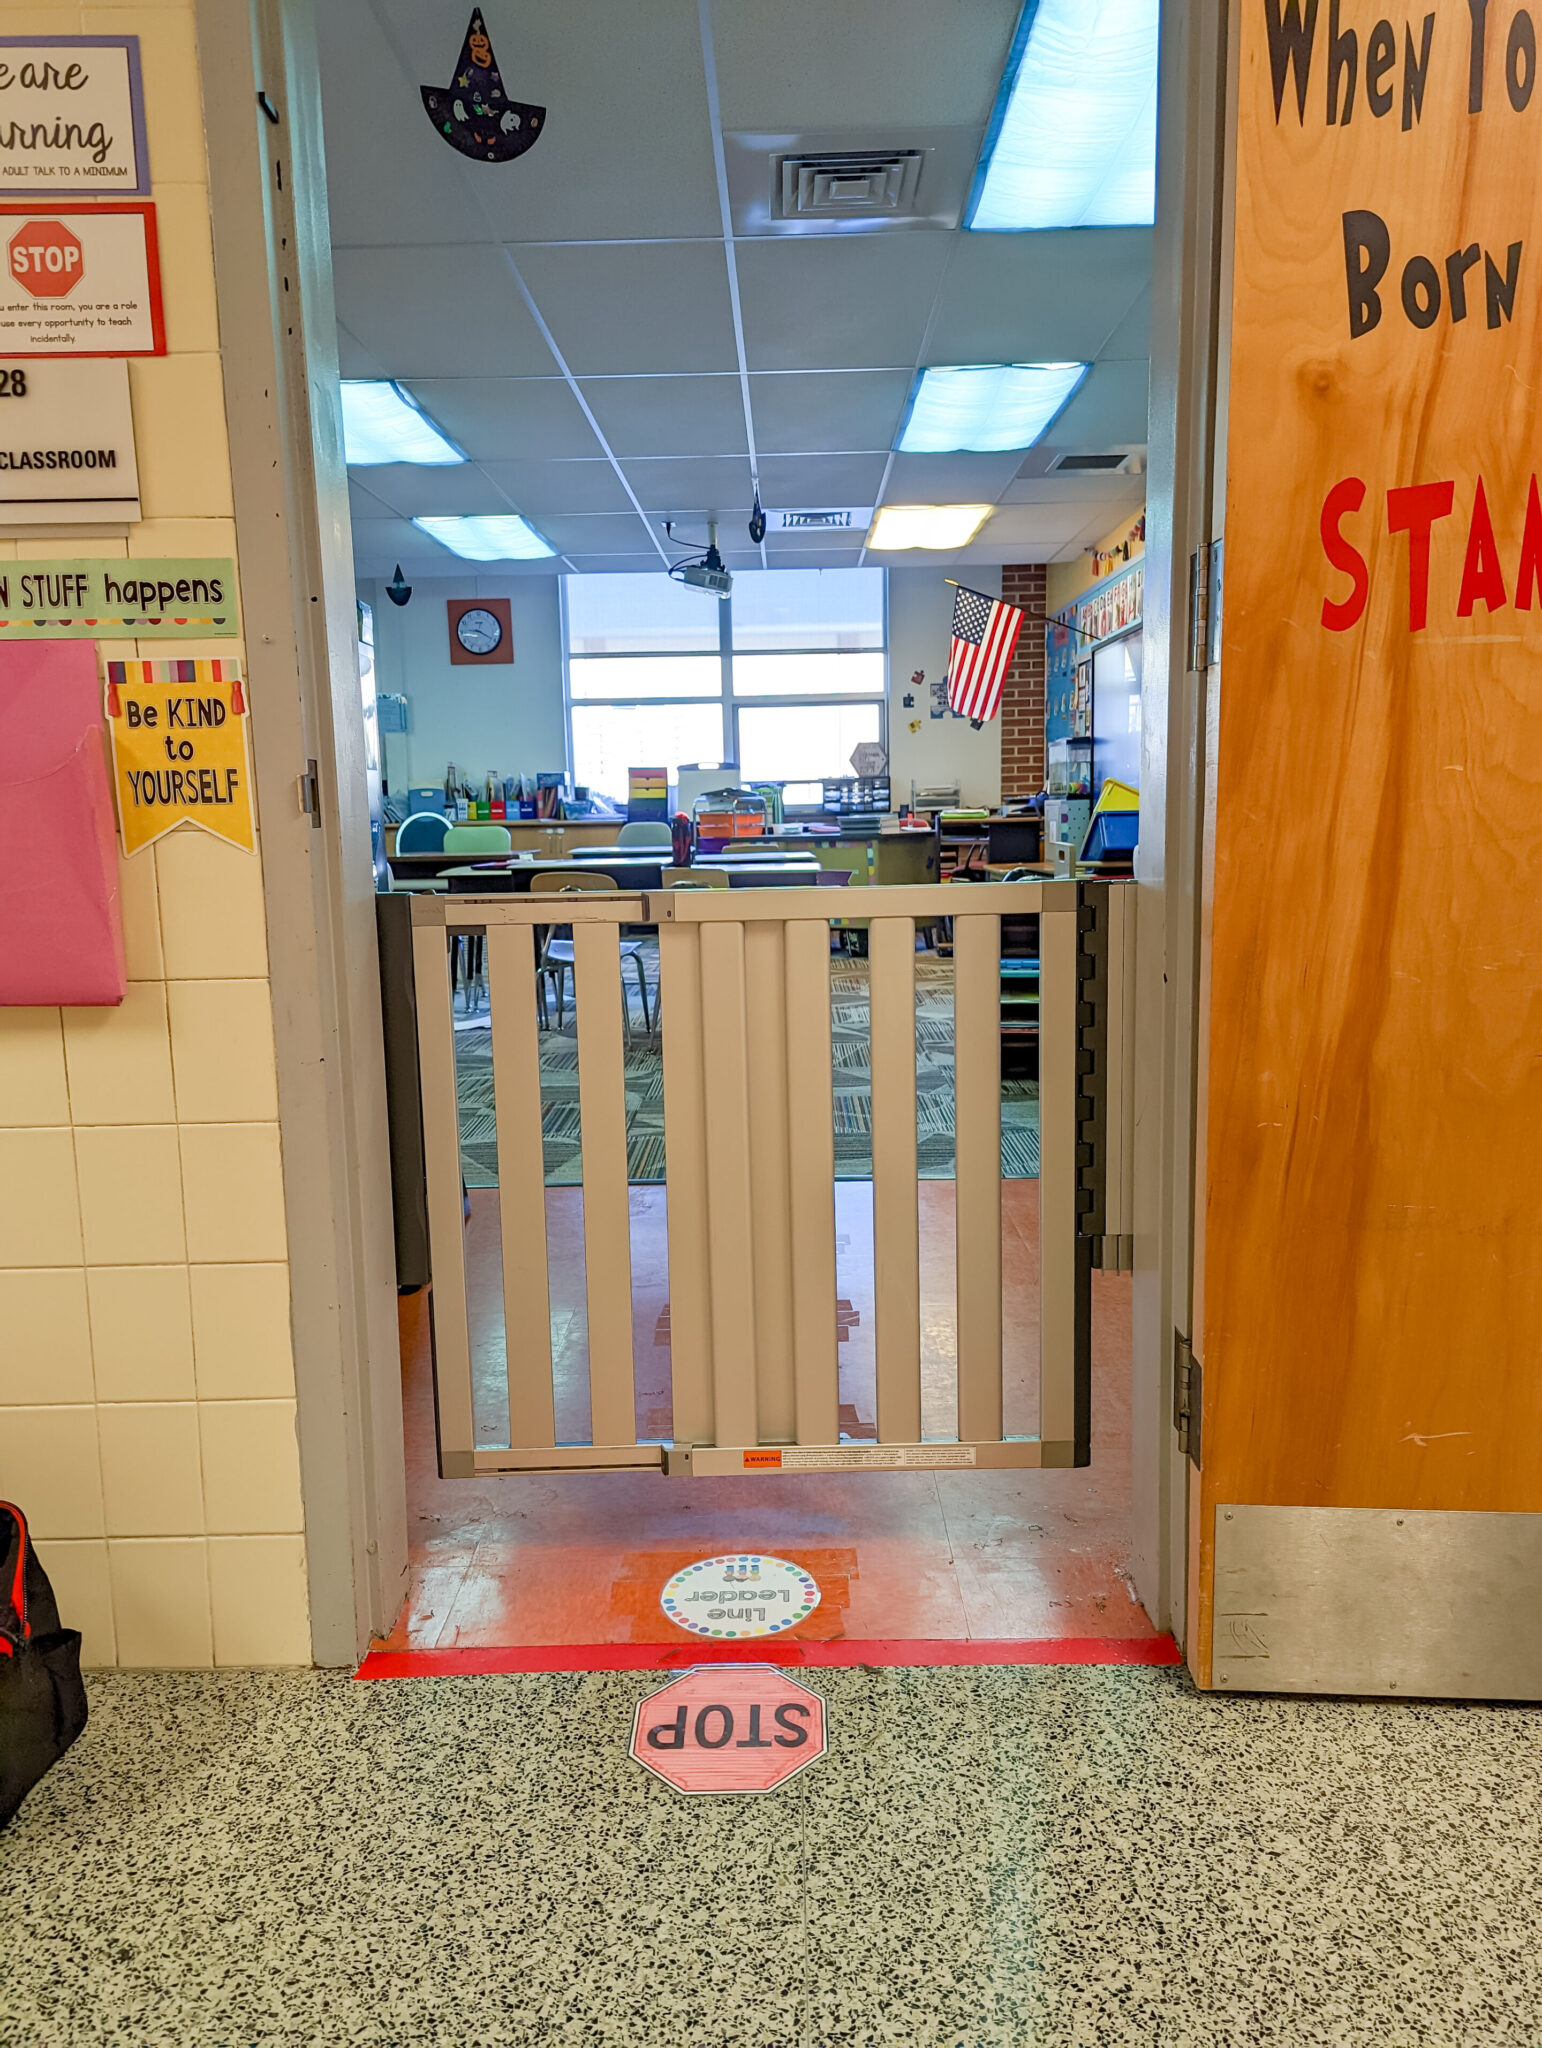
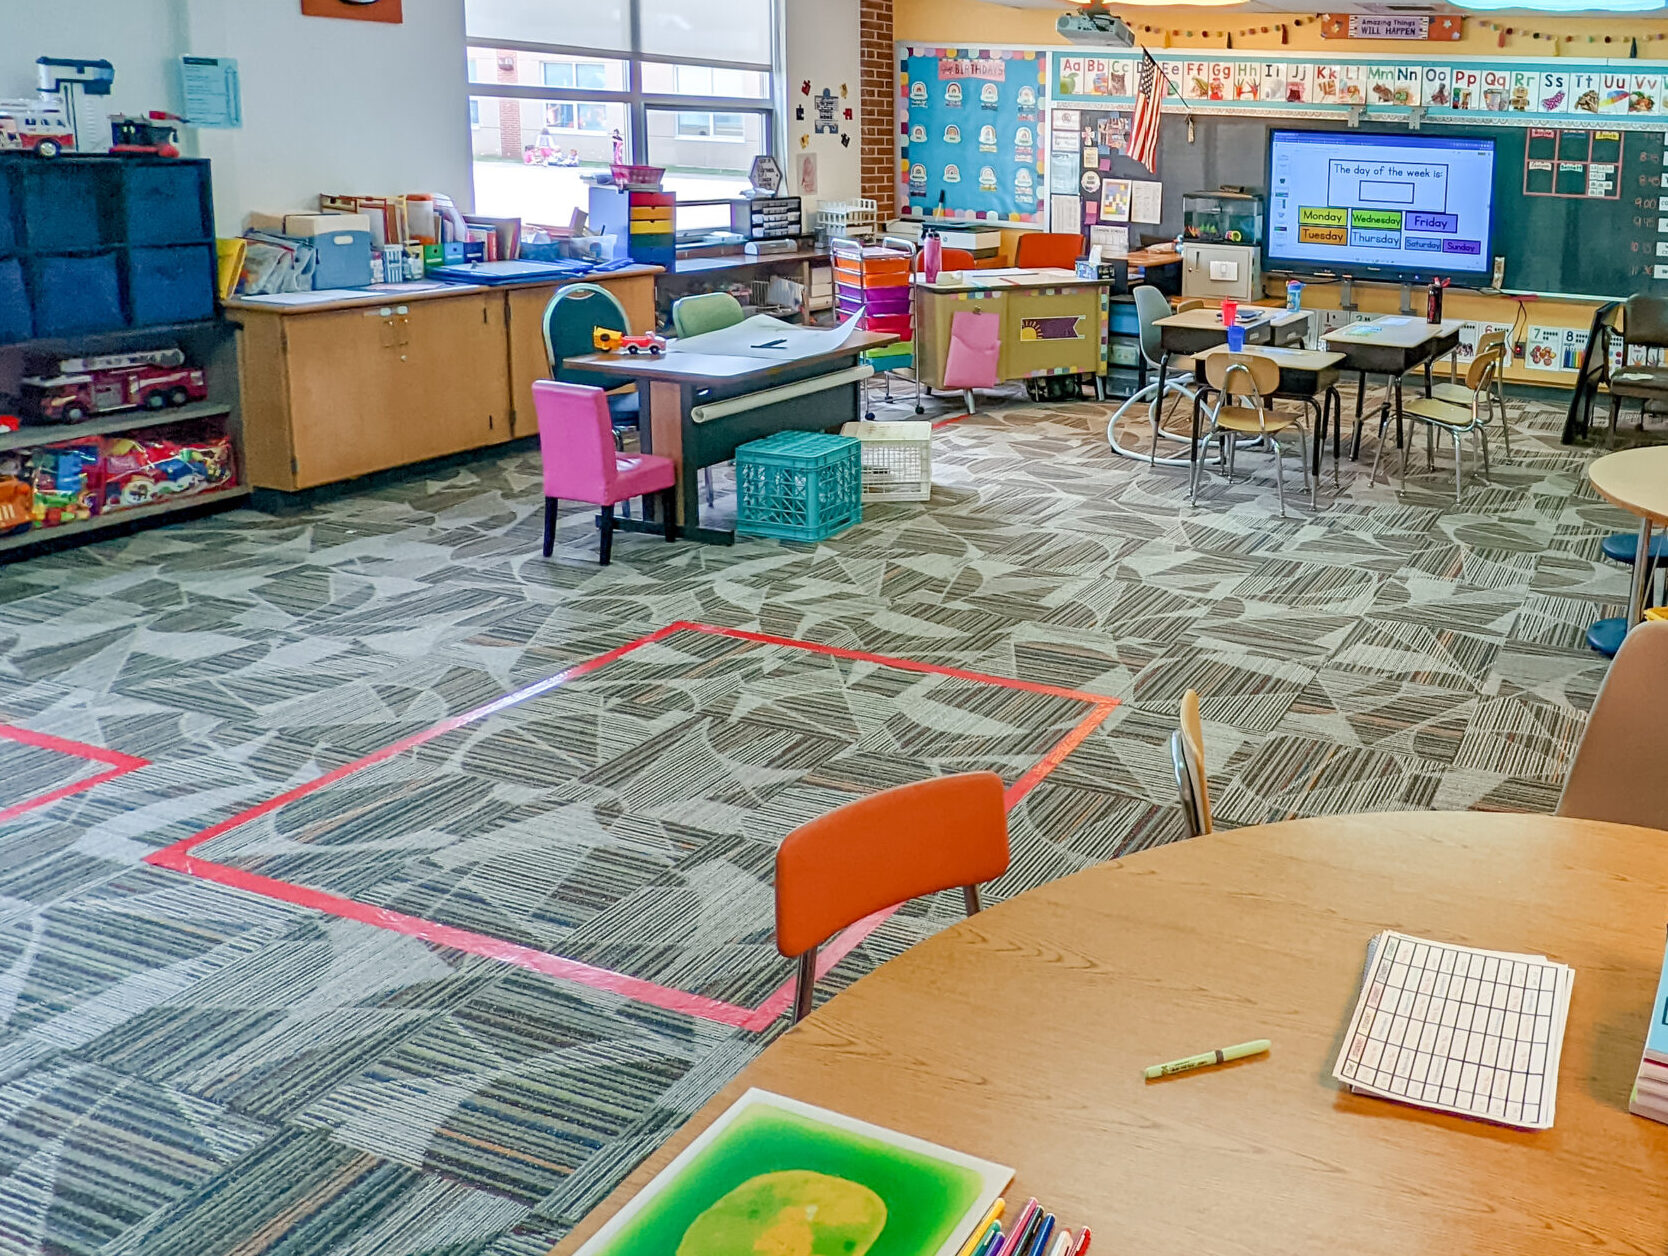
The first reason I choose to have visual boundaries in my classroom is for student safety. I have students who will elope, or run, from the classroom for various reasons. You’ll notice the red tape and stop sign on the floor. These serve as visual reminders that they are not able to leave the classroom without an adult. However, this doesn’t always work, especially if the student is in an escalated state. The gate serves as a way to slow them down and give staff a chance to catch up to them, and it also serves as a visual boundary/reminder that they aren’t able to access the hallway at that time. This works really well about 90% of the time. The other 10%, the classroom door also needs to be closed to serve as a support for the gate. Do you have a gate on your classroom door?

Red Tape and Stop Signs
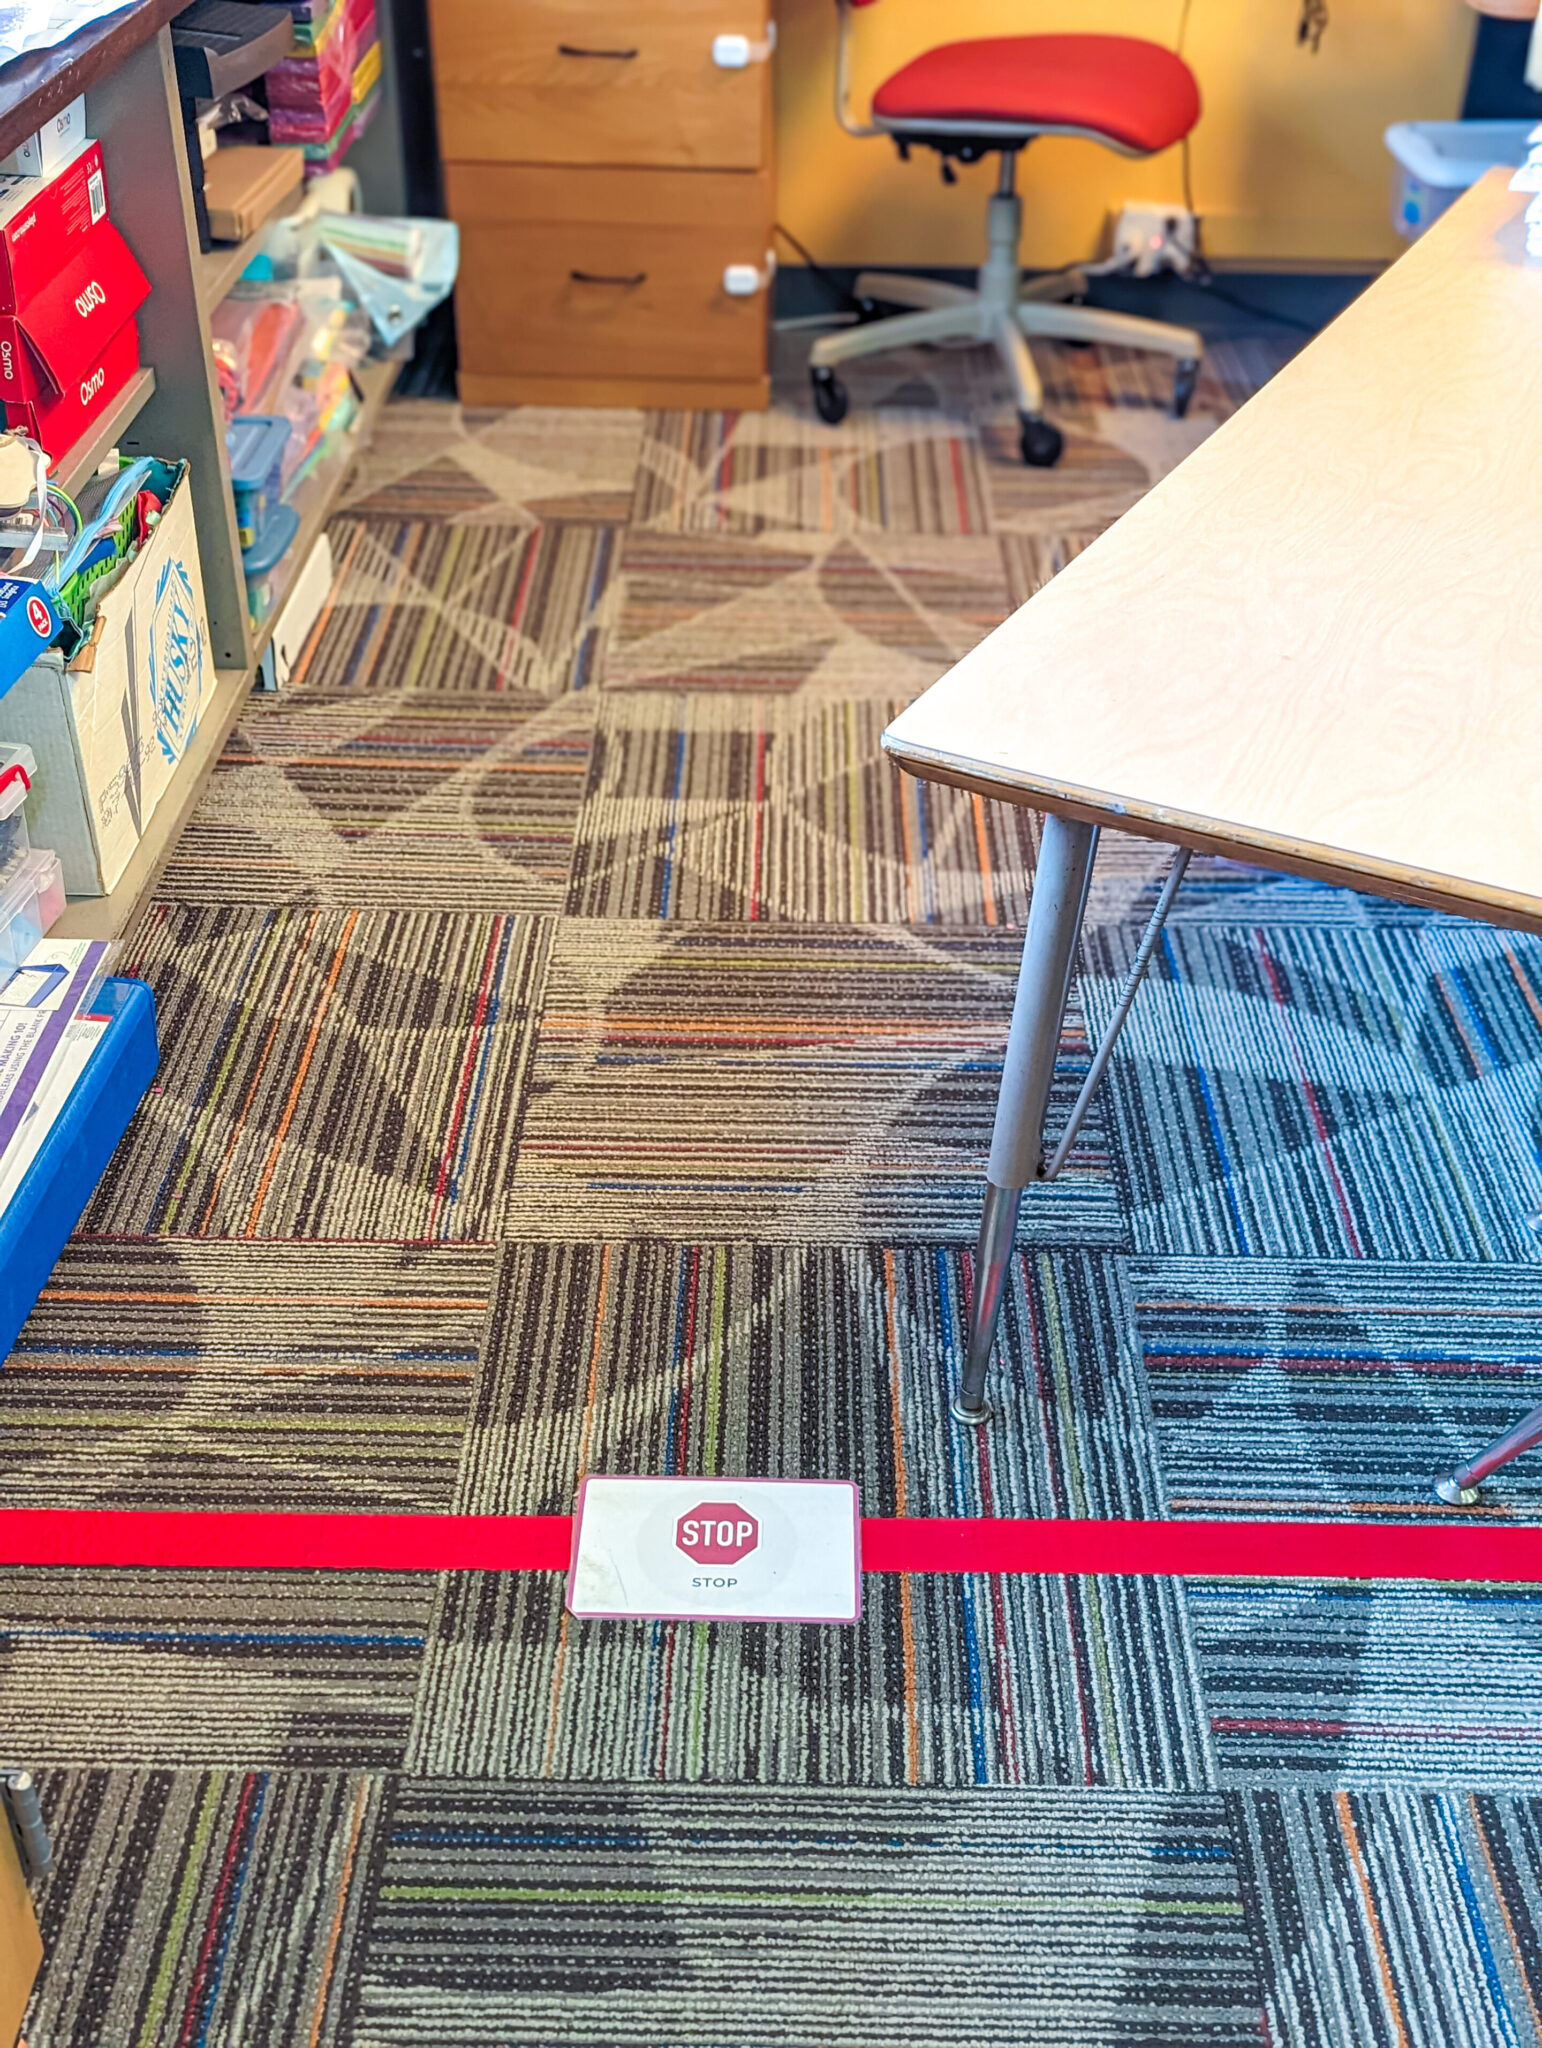
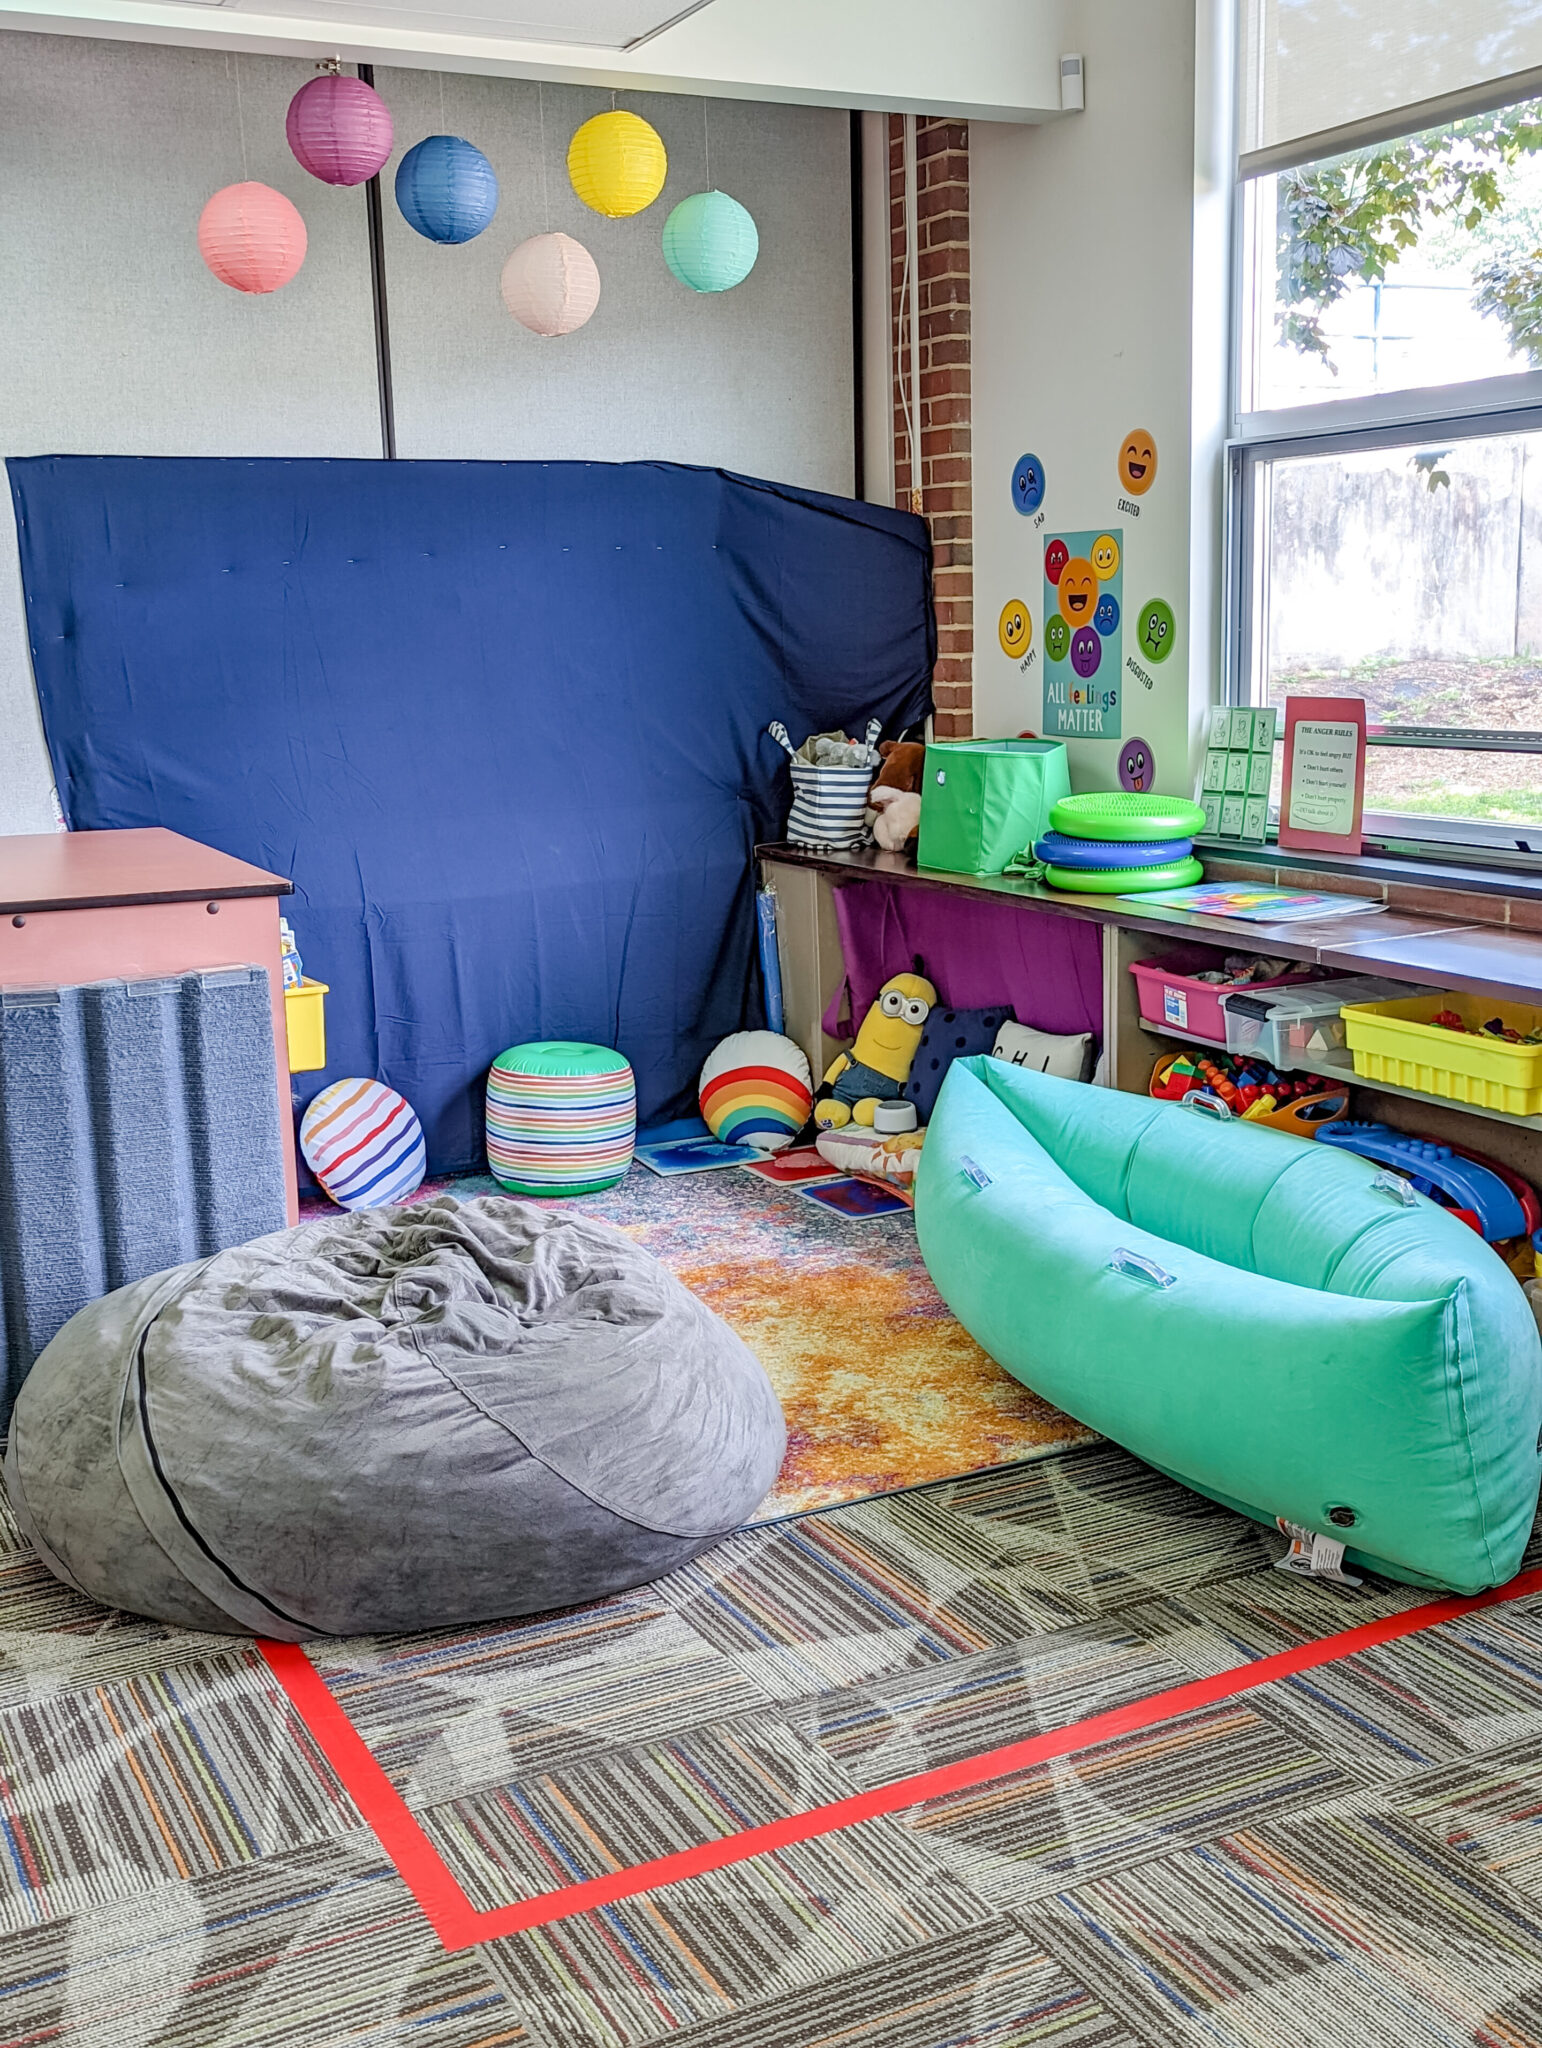
I buy stock in red tape for my classroom! It is especially helpful when needing a contrasting color for your floors. You’ll notice that I have several spaces in my classroom where I have utilized the red tape. The first two photos show teacher and para stations with stop signs to signal students that they are not able to go behind the red tape. This is for adults only. The red tape also creates the boundary for the calm corner and our swing. The large red square is the “safe zone” for the swing, and the students are taught that they may not swing past the red tape.
Shower Curtains and Bed Sheets
Excuse me? Shower curtains and bed sheets in the classroom? Bri, are you feeling okay?
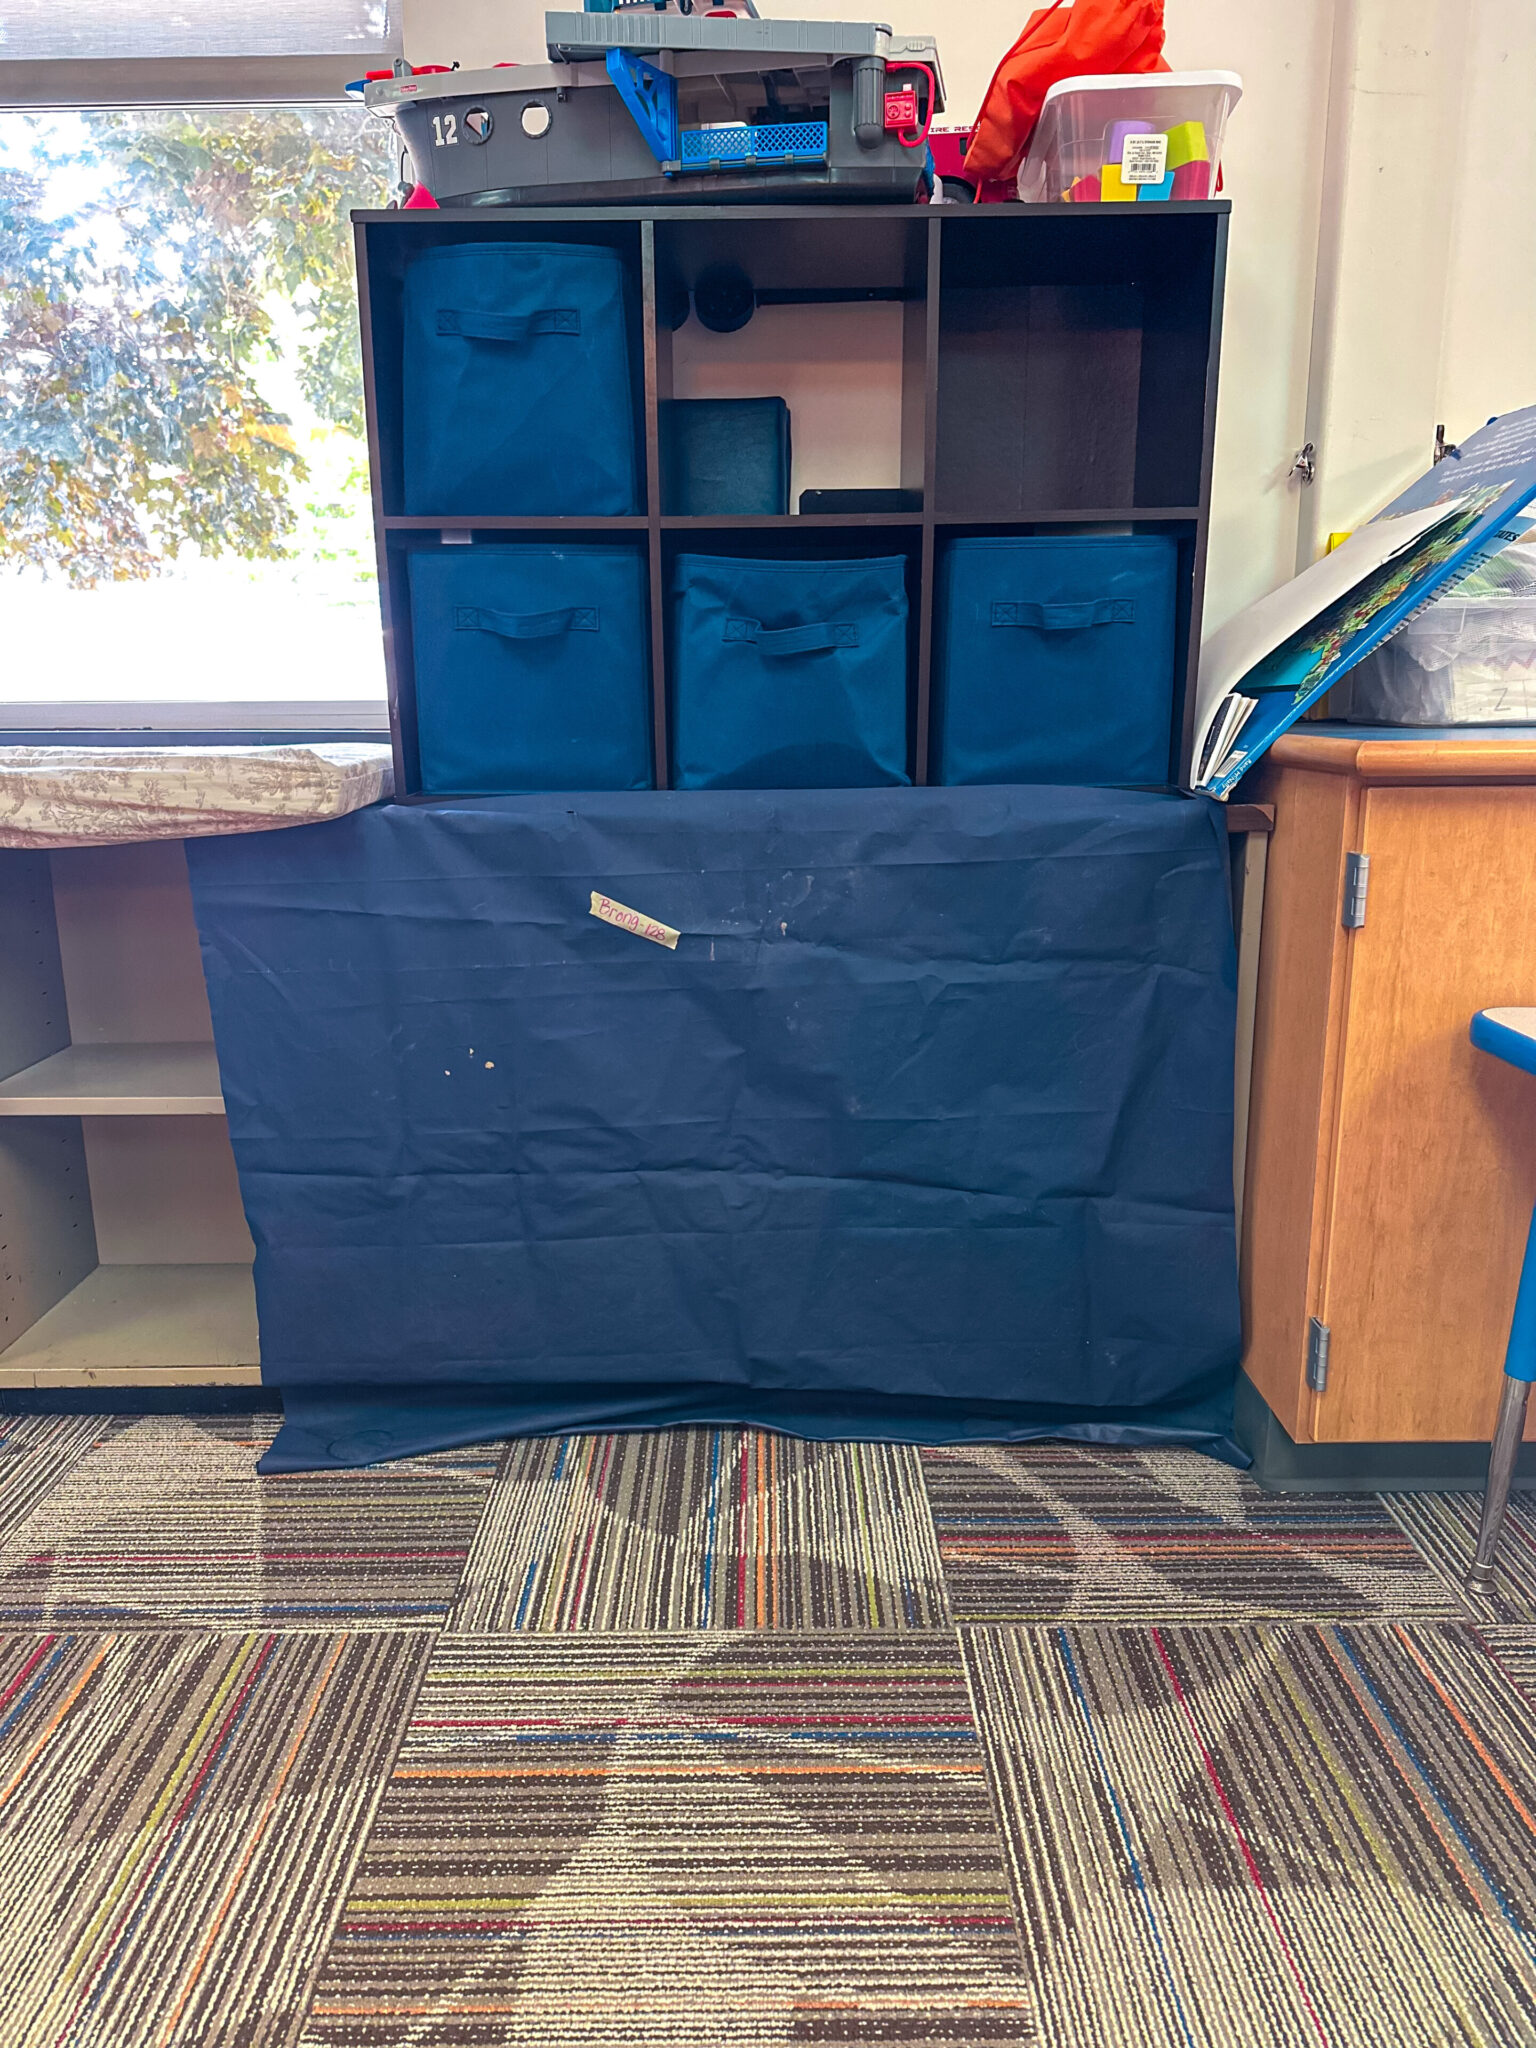
I promise these things work! Do you have items in your classroom that aren’t always available or cubbies/shelves that you wish had doors on them but don’t? Bed sheets and shower curtains help to create an “out of sight, out of mind” type of visual boundary. In my classroom, I put these over their morning bins to signal that they are unavailable and it’s time to move on with the day. I use them on my shelves near my calm corner so that students aren’t able to have free access to the toys on the shelves. I don’t have a ton of storage in my classroom, so I use bed sheets on a couple of my empty cubbies to act as cabinets. This visual boundary is one of my favorites to utilize because IT WORKS!
Side note: I prefer vinyl shower curtains because they are easier to wipe down and clean!
Dividers
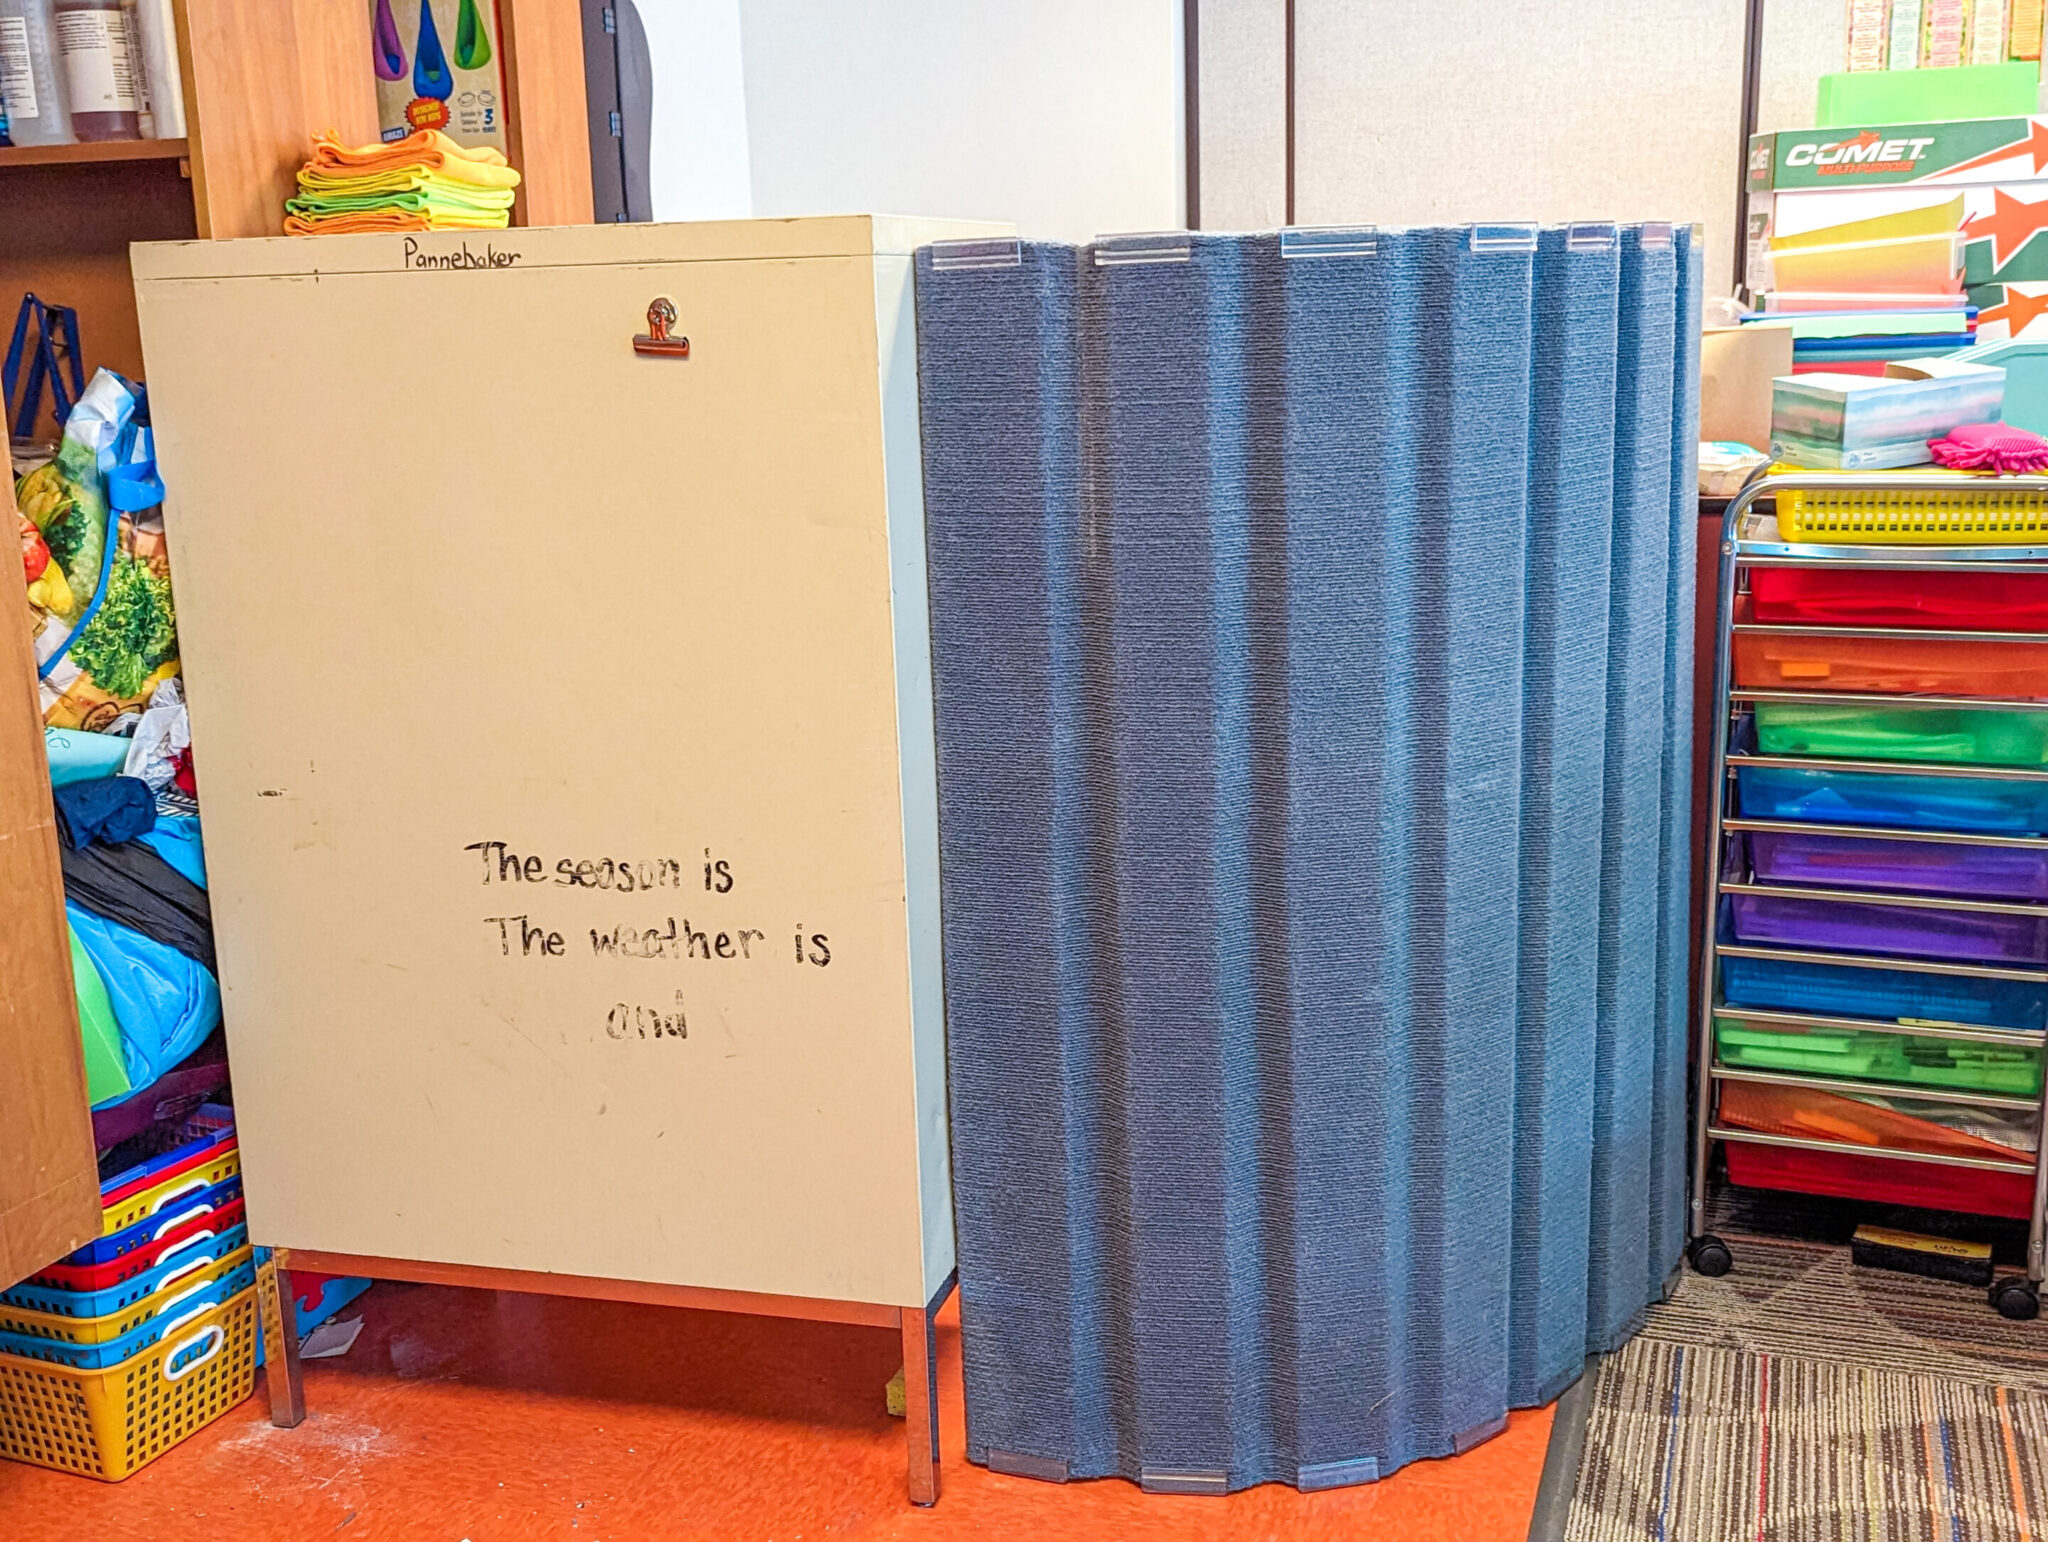
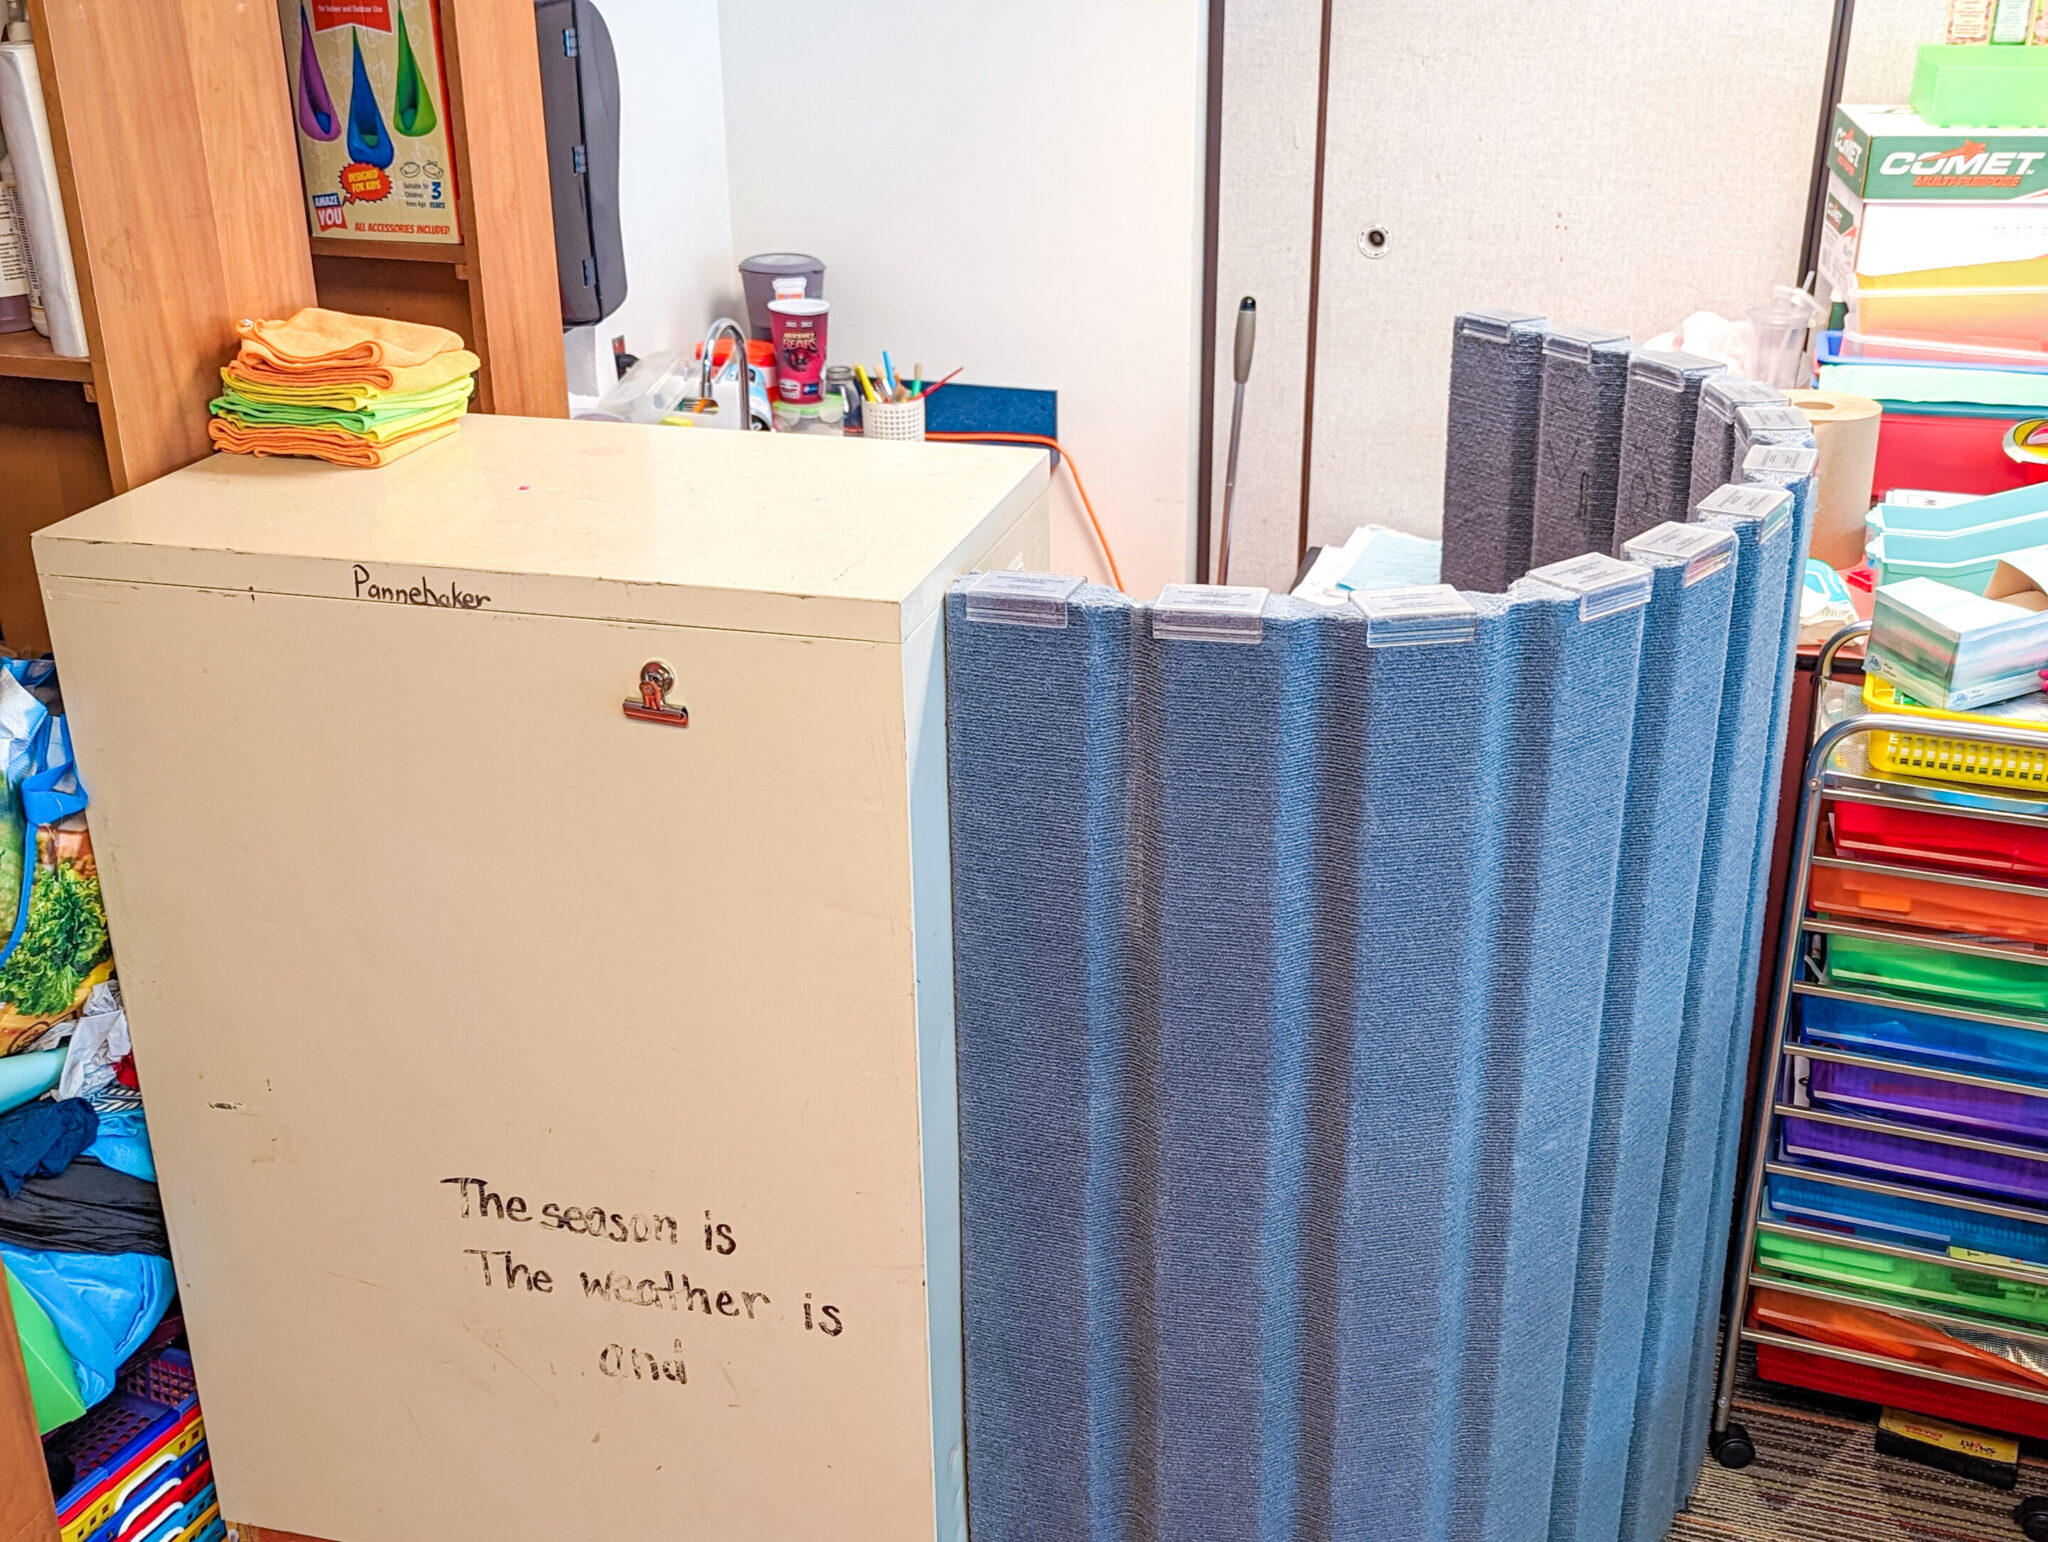
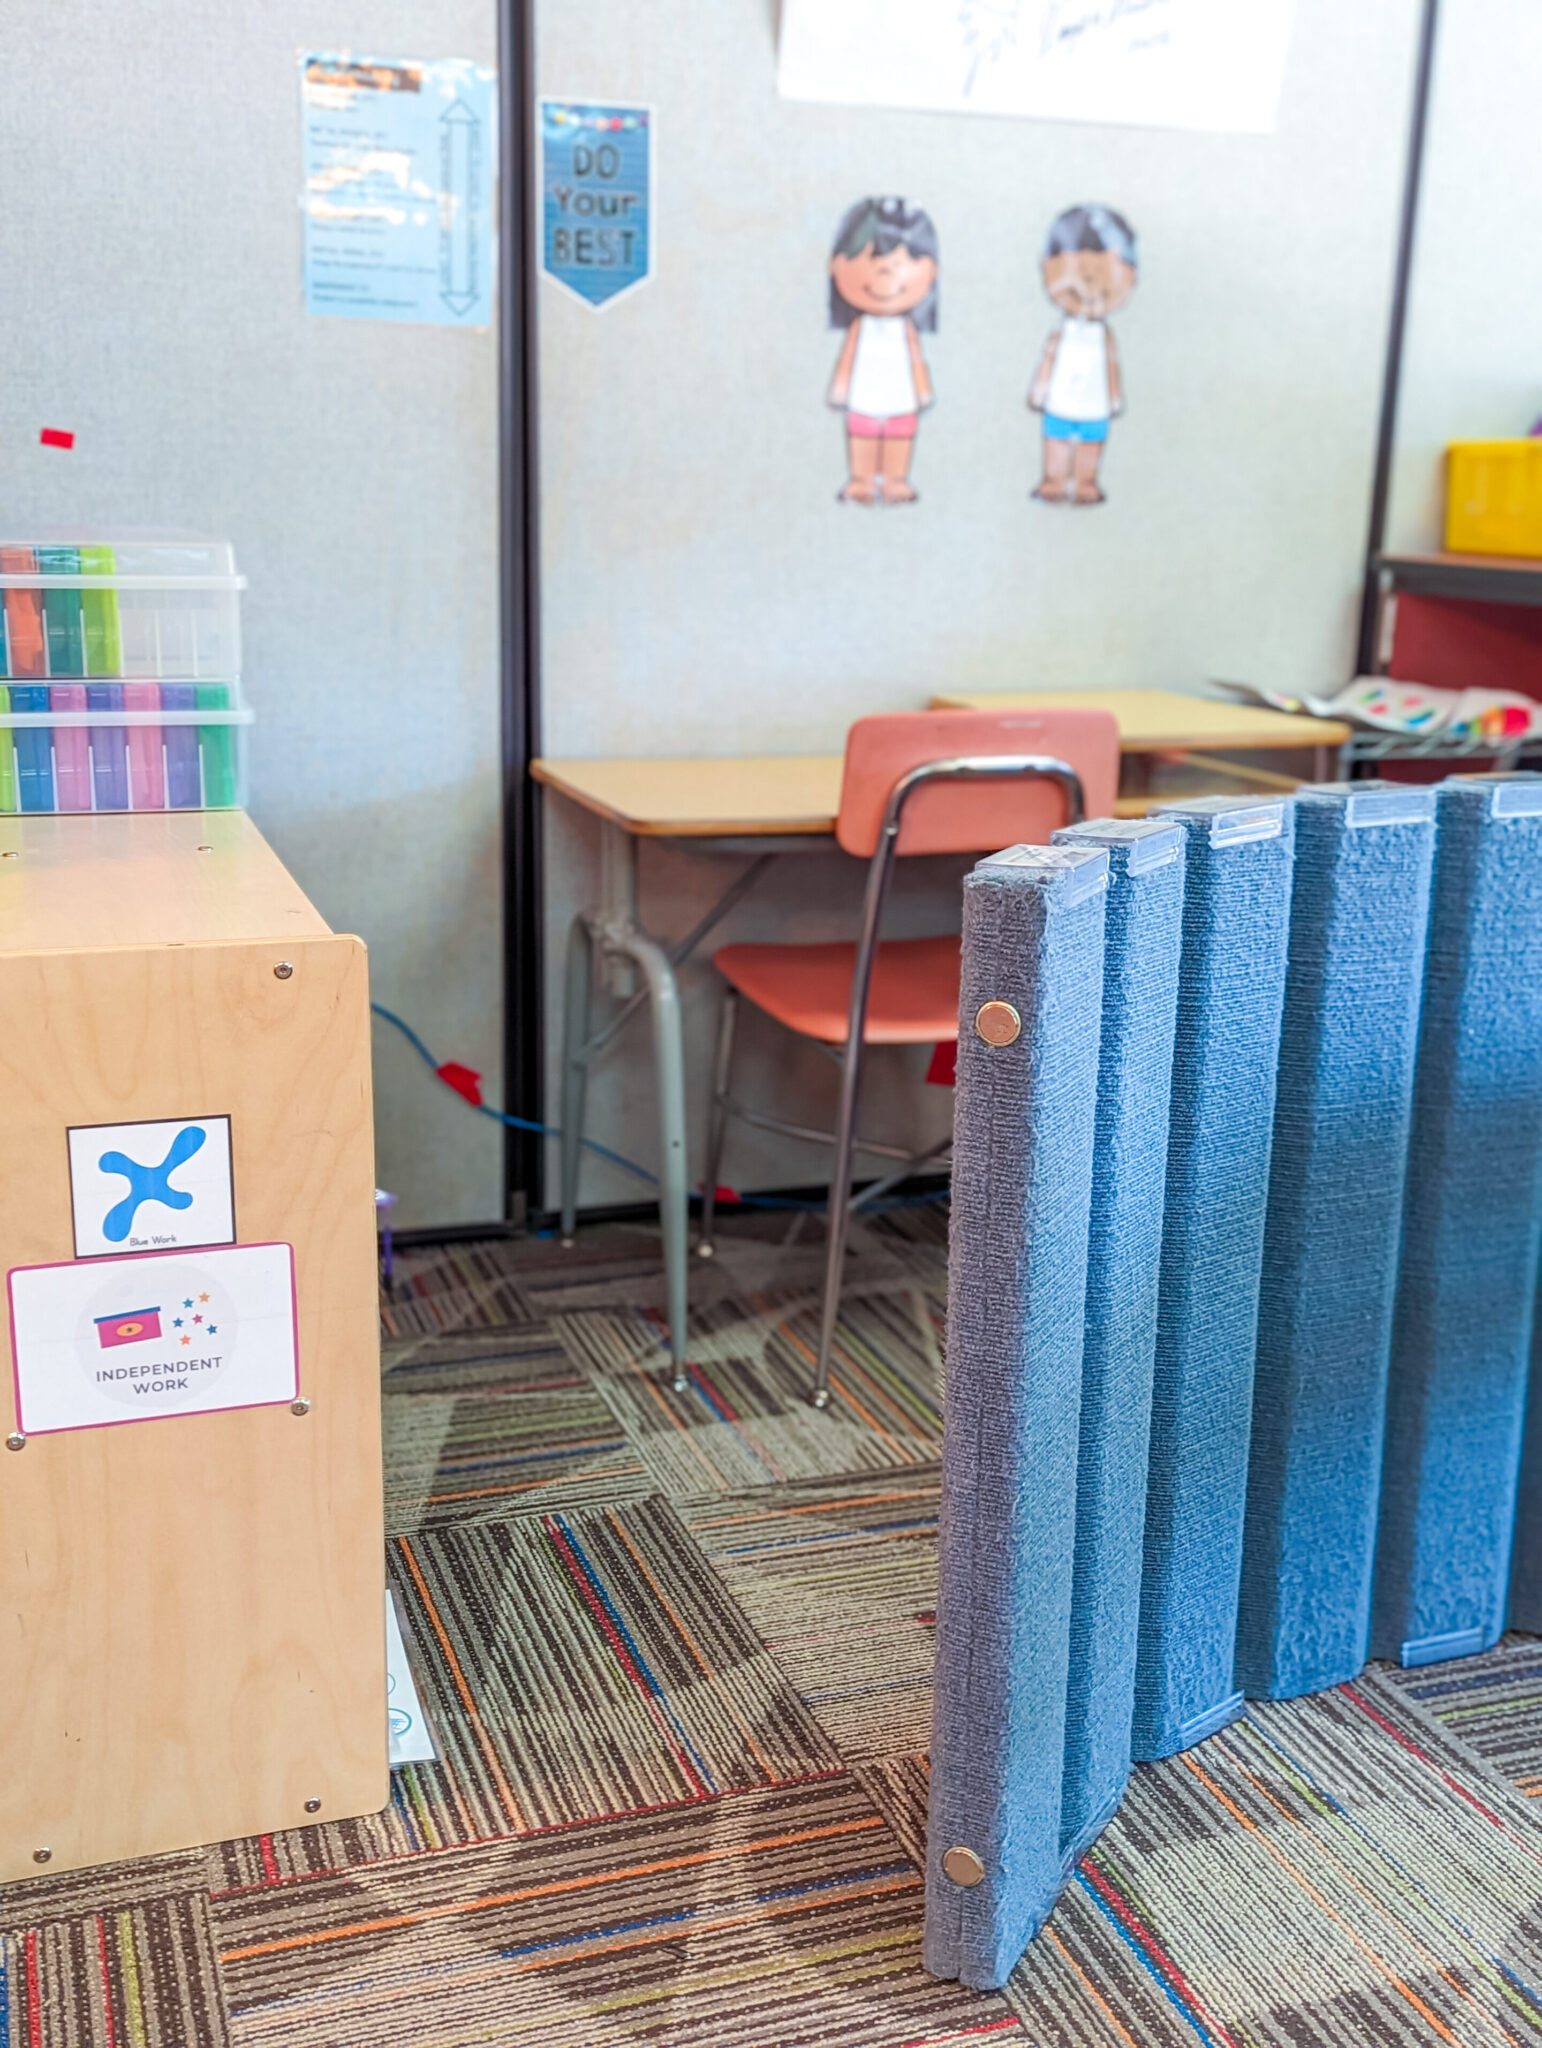
Do you have dividers in your classroom? I use mine for a variety of things, specifically visual boundaries. Along with large furniture, these dividers serve as an additional “wall” to block off areas that students shouldn’t be accessing or to give the visual boundary of a work station or center in the classroom. The dividers pictured above are used to block off the life skills area until it is time to utilize that center, and for my independent work station. You can look and purchase these awesome sound-proof dividers here!
Here is a less expensive alternative for dividers (affiliate link) that are just as helpful (pictured below)!
Furniture
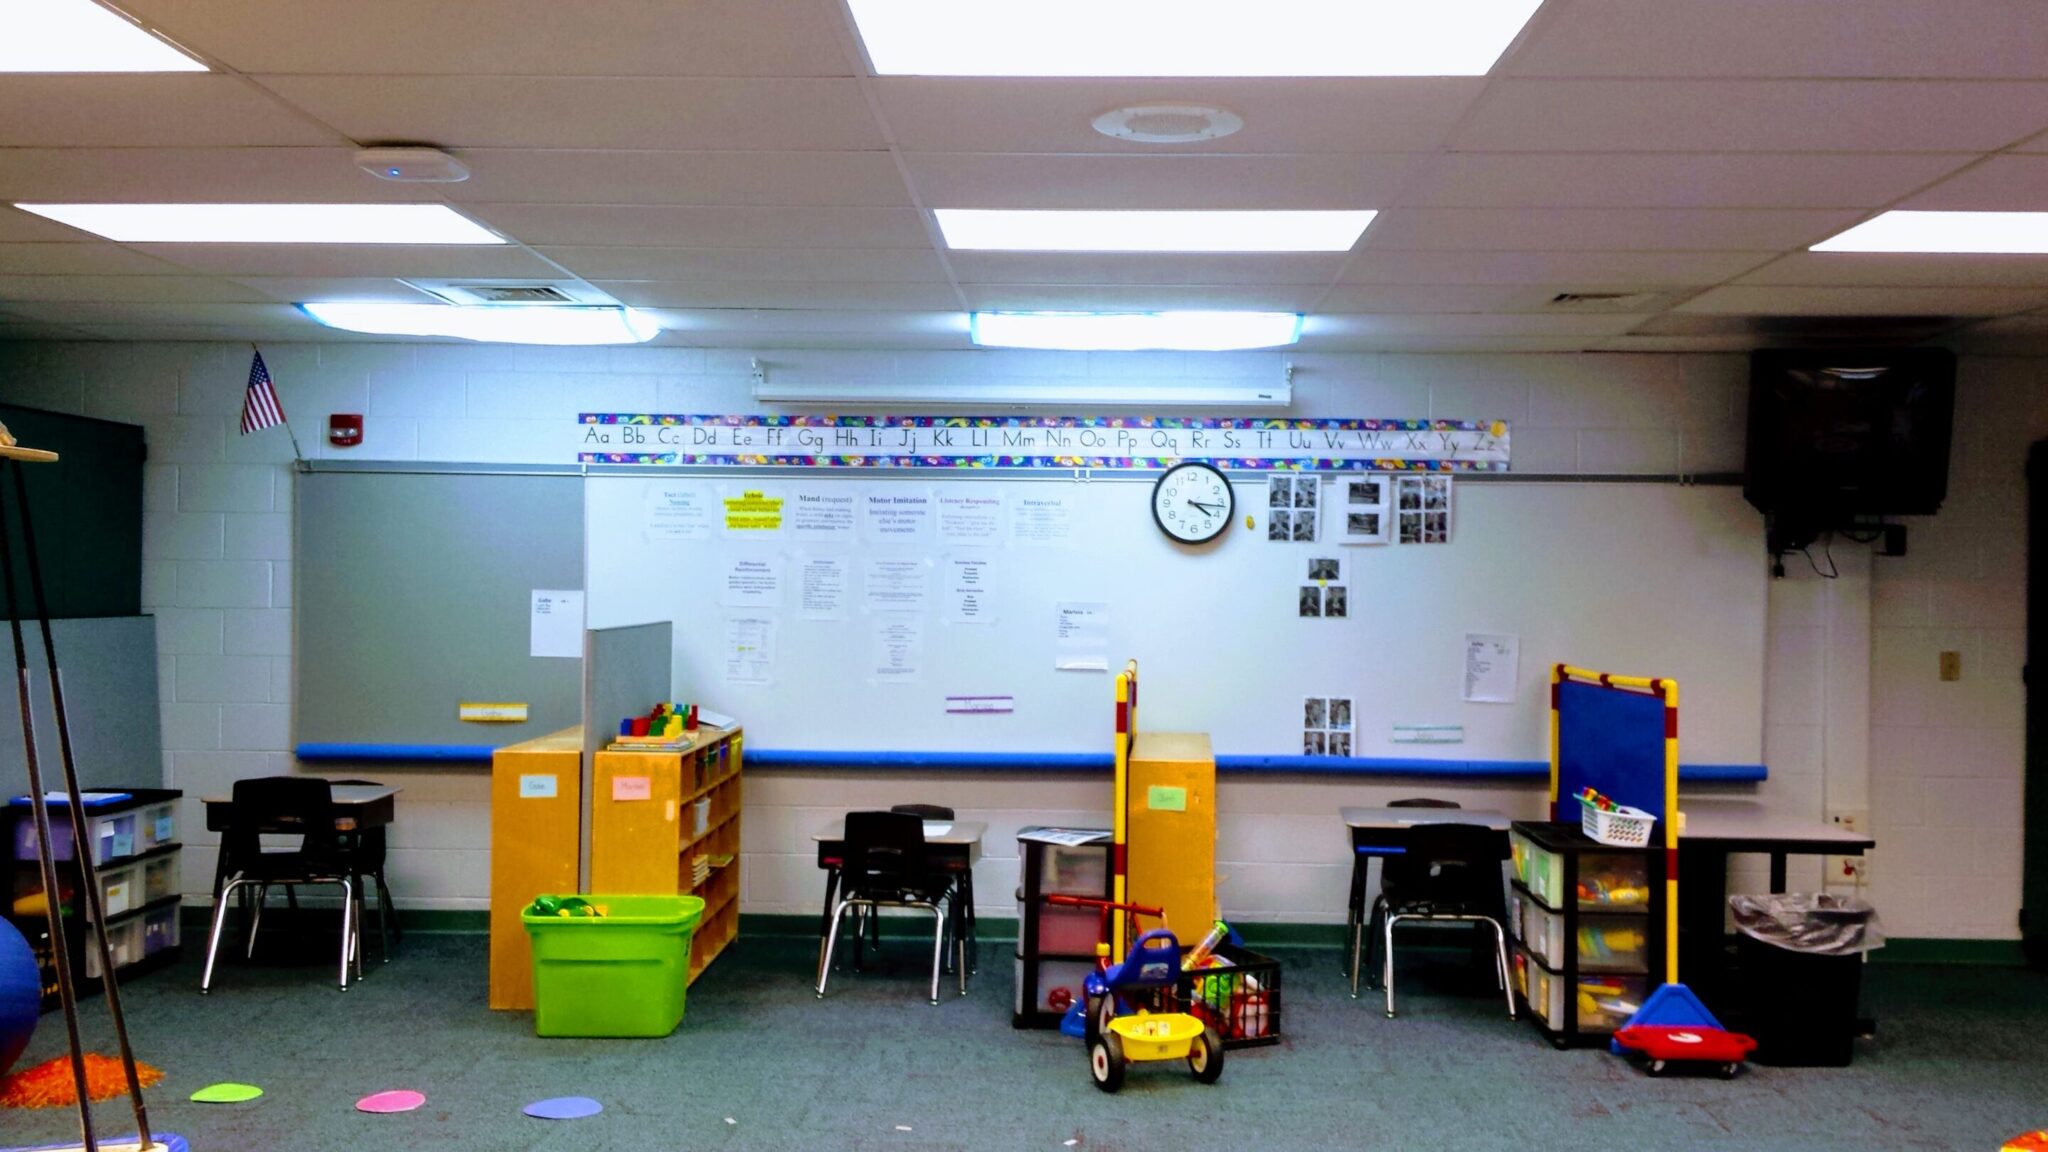
Furniture serves as great visual boundaries in your classroom! As pictured above, you see that I have utilized bookshelves, dividers, and 3-drawer carts to create visual boundaries for one-on-one and independent work centers. I also utilize filing cabinets for visual boundaries in my classroom. In my school, these are very easy to come by as many teachers aren’t using them as much! Plus, they are very sturdy and double as extra storage space: win-win!

Visual boundaries are essential for your special education classroom! It creates a safe and predictable environment for your learners. If you’d like to read more about creating visual boundaries, check out this blog post by Whitney!

The post How to Create Visual Boundaries appeared first on Simply Special Ed.
