3 Simple and Inexpensive DIY Furniture Projects
Are you in need of a new furniture but happen to be working with a limited budget? Check out this post as we showcase these simple and inexpensive DIY furniture projects. Read on!
Buying new furniture that you completely customize to fit your home is both expensive and stressful. However, going the DIY route can point you in the right direction. These DIY furniture projects allow you to make use of easily-available tools to create simple, yet fabulous home furniture with little to no cost. So, roll up your sleeves and let's get started!
3 Simple and Inexpensive DIY Furniture Projects
—This post was originally by forrent, (original publish date June 30, 2016) shared with permission —
There’s just something rewarding about making your own DIY furniture. Sure, professionally-built, store-bought pieces might be of higher quality, or require standard materials, or come with a warranty. Which, we’re not going to lie to you, is pretty nice. But self-made DIY furniture projects have something that purchased items lack: heart.
Customized Living Space
If you really want to customize your living space in a way that will reflect your own personality and style, then DIY may be the way to go. Of course, there’s a difference between knowing that you want to take on a DIY furniture project, and knowing which DIY furniture project to take.
In previous posts, we’ve shown you how to make DIY bookshelves, DIY headboards, and even DIY mid-century ottomans. Here, we’d like to share some projects that are even easier and less expensive than what we’ve shown you before. Here are three simple and inexpensive DIY furniture ideas that you can build yourself, to help give your home the kind of personalized touch it needs:
1. DIY Pallet Kitchen Island
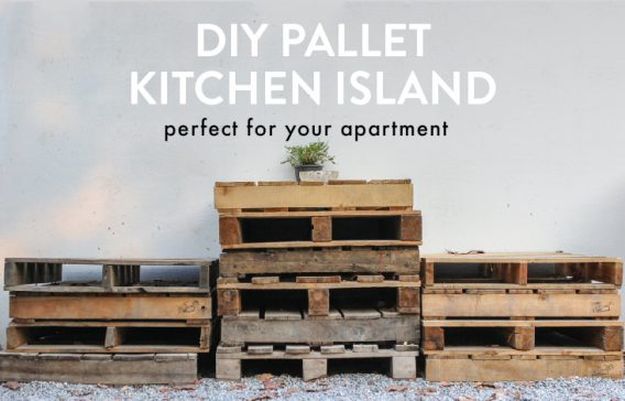
DIY Pallet Kitchen Island
A kitchen island is great to have when you need a little bit of extra counter space while preparing a meal. Of course, if you live in a rented space that has no kitchen island, installing a permanent one yourself isn’t really a possibility. But how about building a nonpermanent, mobile kitchen island out of a wooden crate or pallet? You'll be amazed at how easy DIY Furniture Projects can be with these steps. Here’s how to do it:
First
– Get a clean, unbroken pallet. Contacting a warehouse and asking for any unwanted pallets will likely be your best bet. You can also find free pallets in local classifieds sections, online, or even through the tried-and-true method of ‘dumpster diving.’
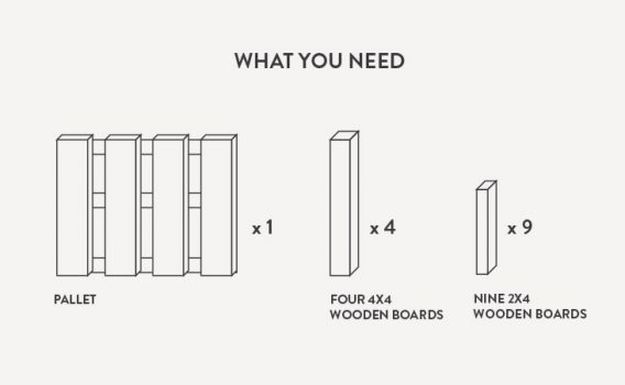
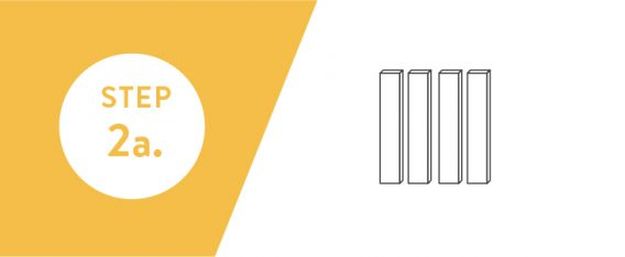
– Using four 4×4 wooden boards, and nine 2×4 wooden boards, create the basic frame for your kitchen island. You’ll need to determine the dimensions of your DIY frame before you attempt to build it, so that you can get boards of the correct length.
Then
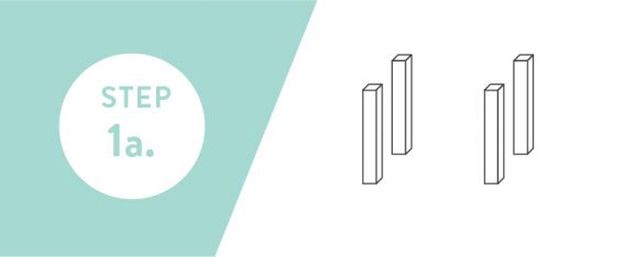
– Stand the 4x4s upright, and position them so that they form the four corners or ‘posts’ of your island. The island should be rectangular, rather than square, with two short sides and two long sides.
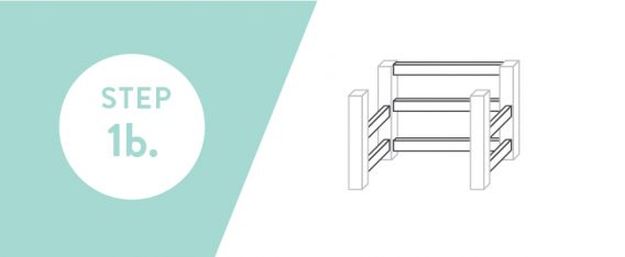
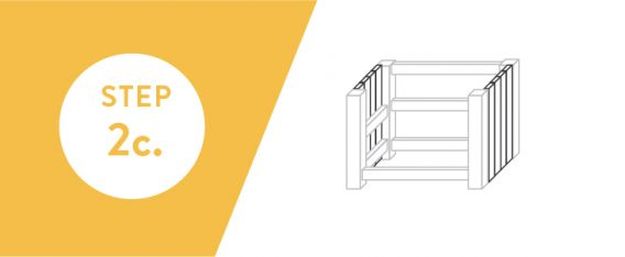
-Using the 2x4s, attach supports between the posts, using two 2x4s on each short side (with one sitting very close to the ground, and the other sitting about halfway up the posts). Also attach three 2x4s on one of the long sides (with one flush with the top of the posts, one about halfway down, and one a few inches from the ground).
-On the final long side, attach a single 2×4 flush with the top. Then another level with the bottom 2×4 from the other side, leaving the middle open; this will be the front of your island.

Next
– Carefully pry apart the individual wooden boards that make up the pallet. The wood will likely look much more weathered and aged than the boards you used for your frame. Luckily, that will only help give your kitchen a comfortable rustic appearance.
-Cut the wooden pallet boards to the correct length so that they can be used to cover the openings on the short sides of the island frame. Using nails or screws, line up and attach several boards to the 2x4s that make up the short sides of the frame.
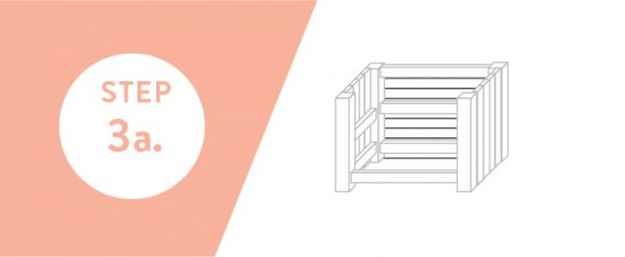
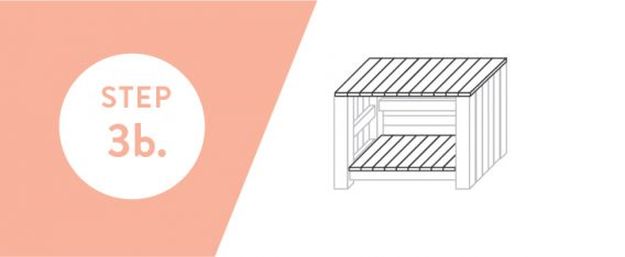
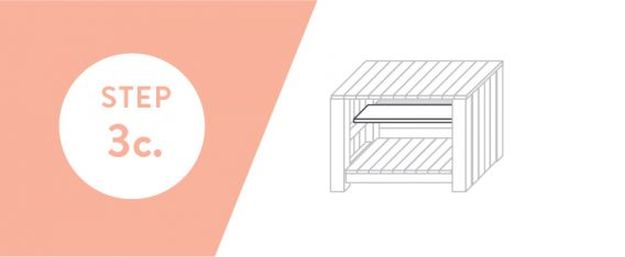
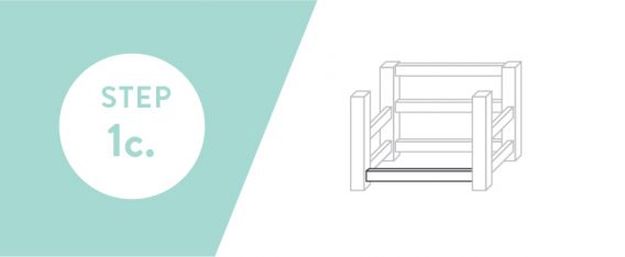
– Use other boards from the pallet to cover the back of the island (the long side with the three 2×4 supports). Use smaller pallet boards laid across the bottom two supports on the long sides to create a bottom ‘shelf’ for your island. Then do the same across the uppermost supports on the long side.
-The boards you use for the top of the island should be evenly spaced, and close enough together to prevent anything from slipping down between them. Finally, lay pallet boards across the center of the island, connecting the middle supports from the two short sides. Thus creating a middle shelf.

Finally
– Pressure wash the entire island, especially the top (you’ll be preparing food on that surface), and sand down any rough areas until you are satisfied with the results.
– Stain the top and any other sections you’d like with the waterproof food-grade stain/sealant of your choice.
– Finally, attach some casters to the bottom of your posts, making your island a mobile addition to your food prep areas.

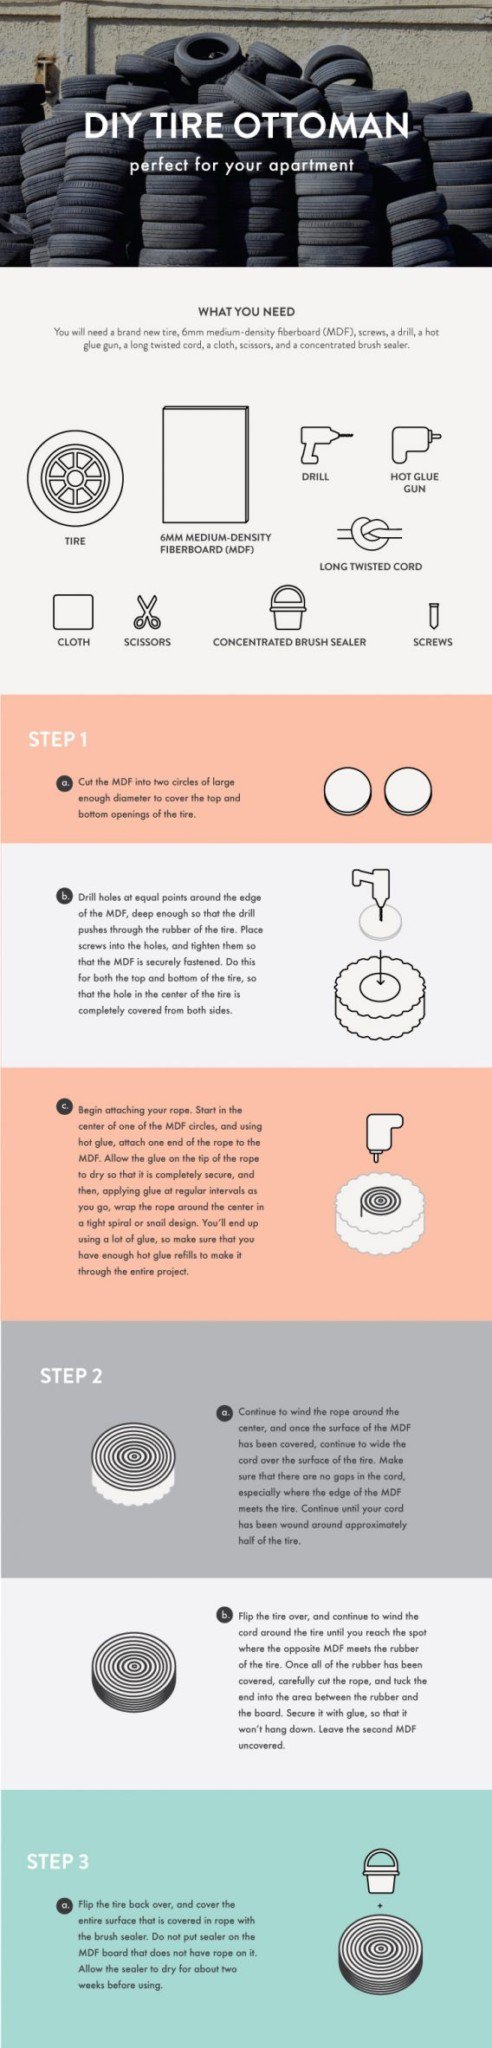
2. DIY Tire Ottoman

DIY Tire Ottoman
A tire is probably the last thing you’d want to turn into a footstool for one of your DIY furniture projects. To be honest, if you’re talking about a found tire sitting at the side of the road, then we’d be inclined to agree with you. But hear us out—by purchasing a new clean tire, as well as some other inexpensive supplies, you can make something totally new. An attractive, functional side table that no one will ever know is actually made out of a tire… until you tell them, that is.
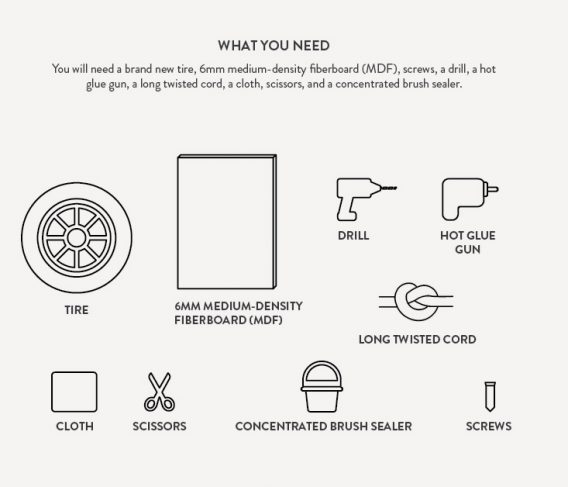
The Basics

Getting Started
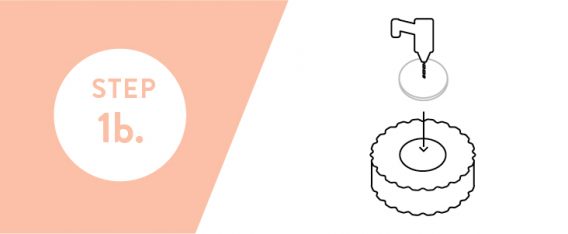
– Cut the MDF into two circles of large enough diameter to cover the top and bottom openings of the tire. Drill holes at equal points around the edge of the MDF. Drill deep enough so that the drill pushes through the rubber of the tire. Place screws into the holes, and tighten them so that the MDF is securely fastened. Do this for both the top and bottom of the tire, so that the hole in the center of the tire is completely covered from both sides.

Attaching the Rope

– Continue to wind the rope around the center, and once the surface of the MDF has been covered, continue to wind the cord over the surface of the tire. Make sure that there are no gaps in the cord. Especially check where the edge of the MDF meets the tire. Continue until your cord has been wound around approximately half of the tire.

– Flip the tire over, and continue to wind the cord around the tire until you reach the spot where the opposite MDF meets the rubber of the tire. Once all of the rubber has been covered, carefully cut the rope, and tuck the end into the area between the rubber and the board. Secure it with glue, so that it won’t hang down. Leave the second MDF uncovered.
Finalizing
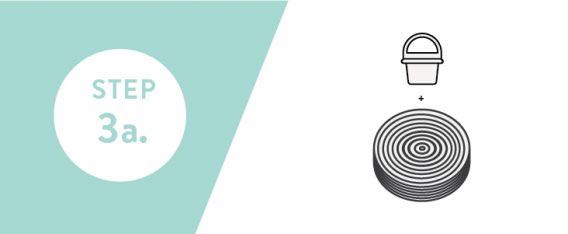
– Flip the tire back over, and cover the entire surface that is covered in rope with the brush sealer. Do not put sealer on the MDF board that does not have rope on it.
– Allow the sealer to dry for about two weeks before using.
– Now, just place the tire uncovered-MDF-side-down wherever you’d like in your apartment. Now you’ll have a stylish and cheap ottoman that none of your guests will be able to identify as an upcycled tire. Just one of many simple DIY Furniture Projects!
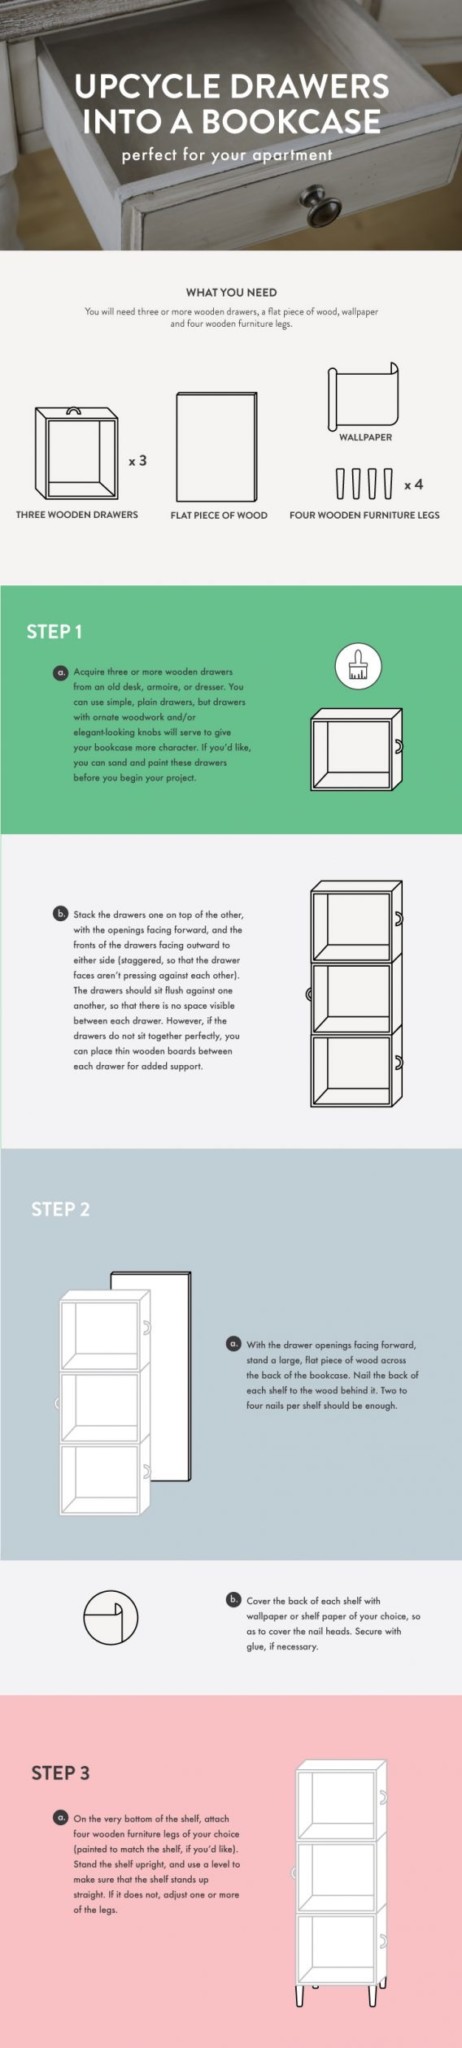
3. Upcycle Drawers Into A Bookcase
If you are anything like most apartment dwellers, then you know how hard it is to find enough storage and shelf space. This particular DIY project is simple to put together, and produces a fun and topsy-turvy variation on the classic shelf/bookcase.

First
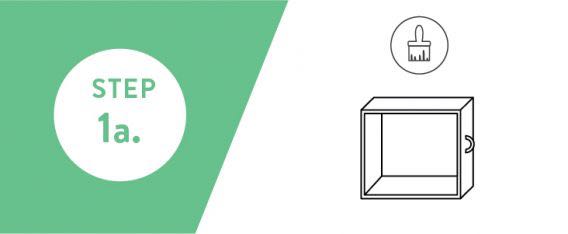
– Acquire three or more wooden drawers from an old desk, armoire, or dresser. You can use simple, plain drawers, but drawers with ornate woodwork and/or elegant-looking knobs will serve to give your bookcase more character. If you’d like, you can sand and paint these drawers before you begin your project.
Next
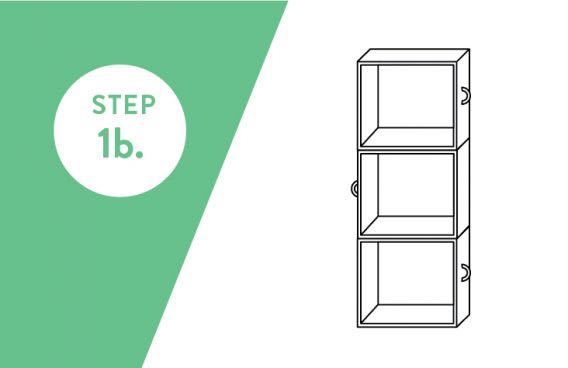
– Stack the drawers one on top of the other, with the openings facing forward, and the fronts of the drawers facing outward to either side. Keep them staggered so that the drawer faces aren’t pressing against each other. The drawers should sit flush against one another, so that there is no space visible between each drawer. However, if the drawers do not sit together perfectly, you can place thin wooden boards between each drawer for added support.
Then
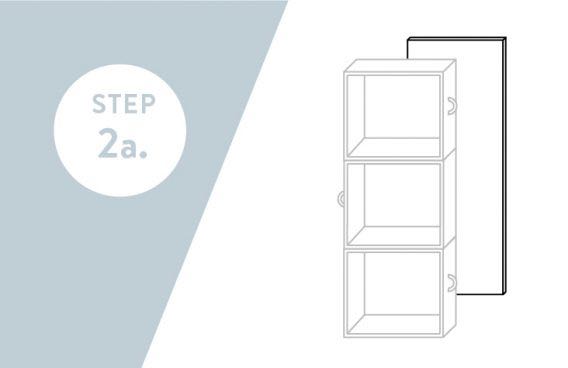
– With the drawer openings facing forward, stand a large, flat piece of wood across the back of the bookcase. Nail the back of each shelf to the wood behind it. Two to four nails per shelf should be enough.

– Cover the back of each shelf with wallpaper or shelf paper of your choice, so as to cover the nail heads. Secure with glue, if necessary.
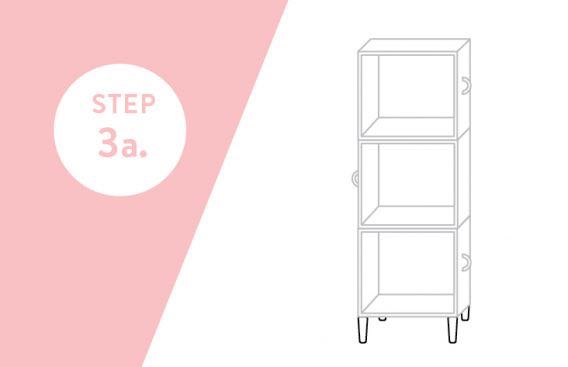
– Pick a spot for your fun new bookcase, and load it up with whatever items, trinkets, or books that you need a place for… or that you want to show off.
What are your favorite DIY furniture projects? Let us know in the comment section below.
Stay connected with us on Facebook, Twitter, Pinterest, and Instagram!
Next: Man Cave Ideas | 19 DIY Decor and Furniture Projects